Seamless Website Hosting on Azure
Accelerate Your Web Presence on Azure: Effortless Static Website Hosting with Storage Accounts and CDN.

DevOps enthusiast and cloud aficionado | Sharing insights and expertise on all things DevOps and Cloud | Join me on a journey of continuous learning and innovation | Let's unlock the true potential of modern engineering together | Connect with me to explore the exciting intersection of DevOps and Cloud!
Introduction
Azure CDN :
Discover the remarkable potential of Azure CDN (Content Delivery Network) and revolutionize your web content delivery. Designed by Microsoft Azure, Azure CDN is a dynamic solution that optimizes the distribution of web content to users worldwide. This blog post will delve into the features and benefits of Azure CDN, showcasing how it accelerates load times, enhances performance, and elevates user satisfaction.
In today's interconnected world, distance can significantly impact content loading speeds. Azure CDN addresses this challenge by strategically caching and distributing content across a vast network of edge servers in global data centers. By delivering content from the nearest server to users, latency is minimized, ensuring faster content access. Moreover, Azure CDN optimizes bandwidth usage by efficiently caching and delivering static content, reducing the strain on origin servers and enabling cost savings. With support for dynamic site acceleration, secure protocols, and advanced features, Azure CDN is a versatile solution for seamless content delivery, empowering businesses to provide exceptional user experiences on a global scale.
Azure Storage Account :
Azure Storage Accounts play a vital role in achieving seamless website hosting with Content Delivery Network (CDN) integration. As organizations strive to deliver high-performance and scalable web applications, leveraging Azure's robust storage infrastructure becomes crucial. Azure Storage Accounts provide a secure and reliable solution for storing and serving website content, while CDN integration ensures efficient content delivery to users across the globe.
In this blog post, we will explore the power of Azure Storage Accounts in conjunction with CDN for achieving a seamless website hosting experience. We will delve into the various features and capabilities of Azure Storage Accounts, such as Blob storage for static content, Queue storage for asynchronous processing, and Table storage for structured data. Additionally, we will explore the integration of Azure CDN with Storage Accounts to optimize content delivery, improve website performance, and ensure a smooth end-user experience. By the end of this article, you will have a solid understanding of how to harness the combined power of Azure Storage Accounts and CDN to achieve seamless website hosting with efficient content delivery.
Step by step implementation
First, go to https://portal.azure.com and login to your account.
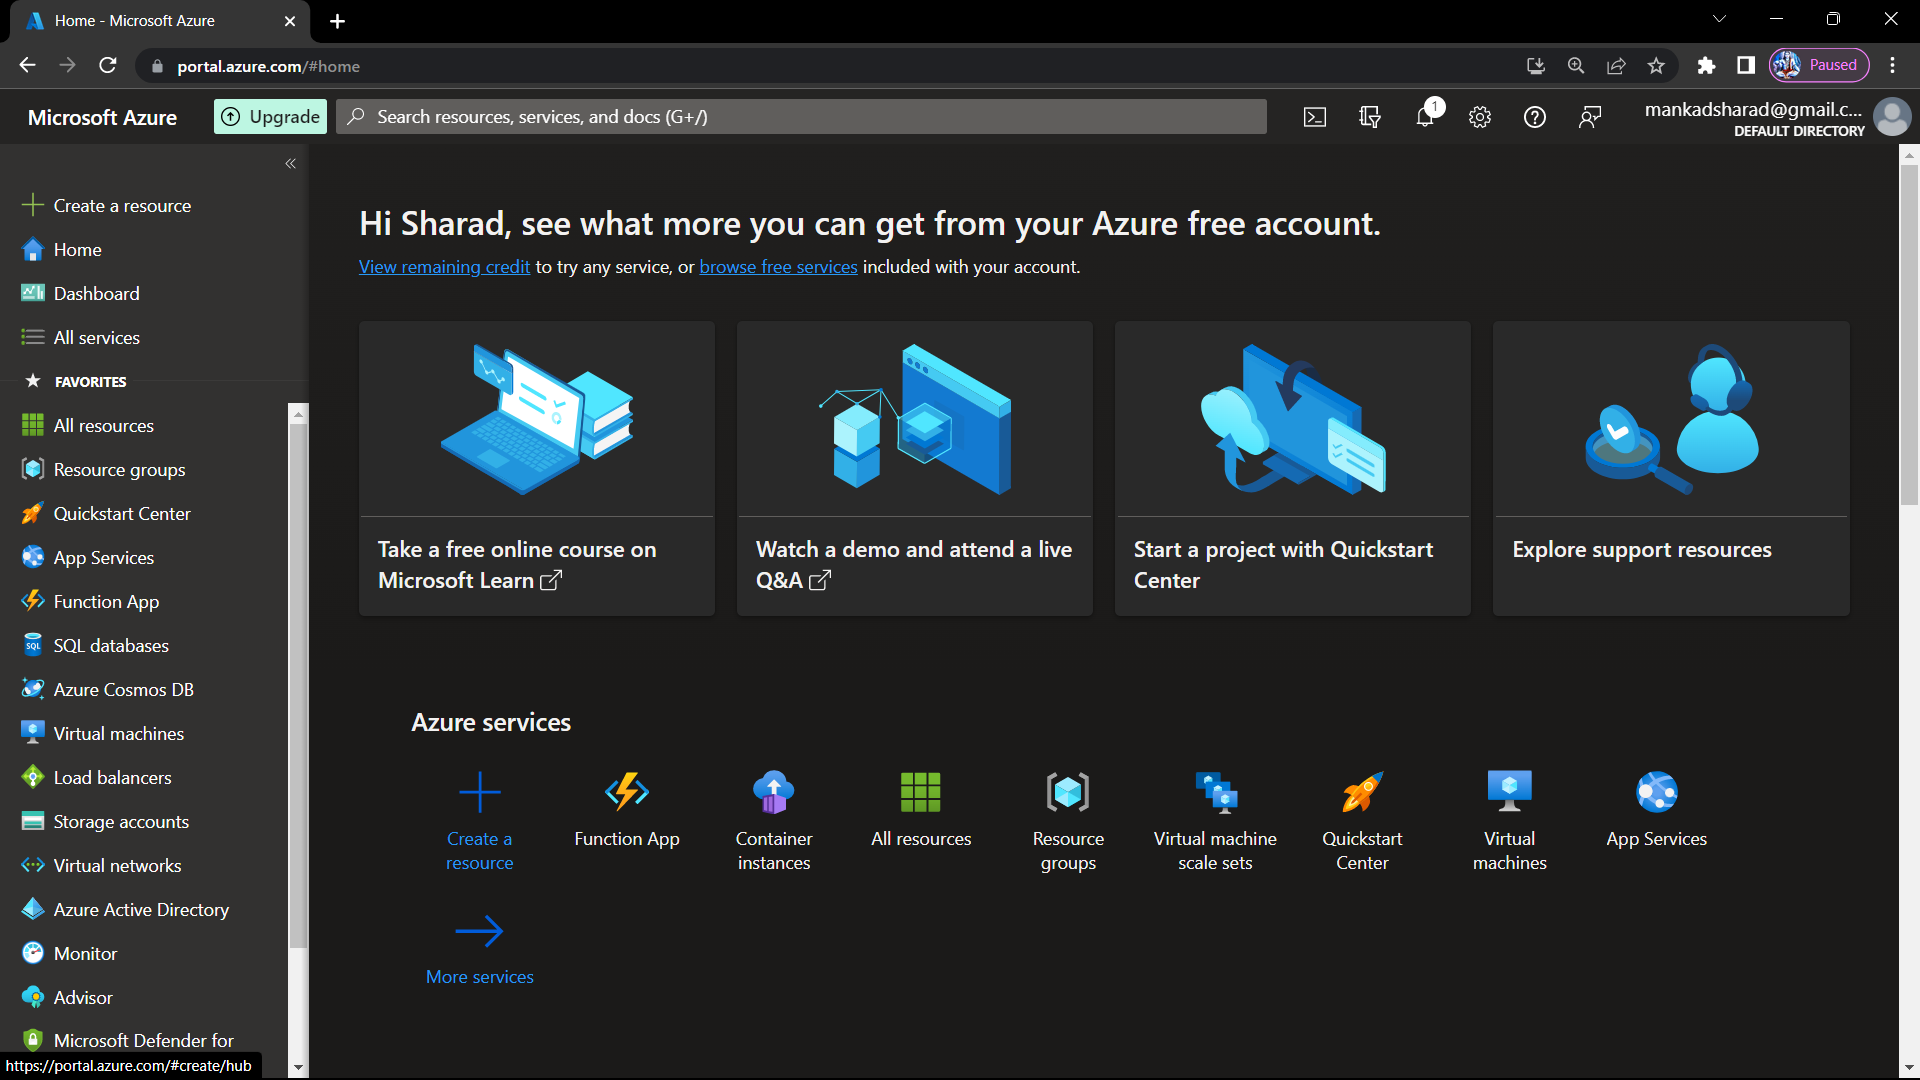
Step-1 : Open your azure account and go to the dashboard.
Step-2 : Click on search bar and write Storage Accounts
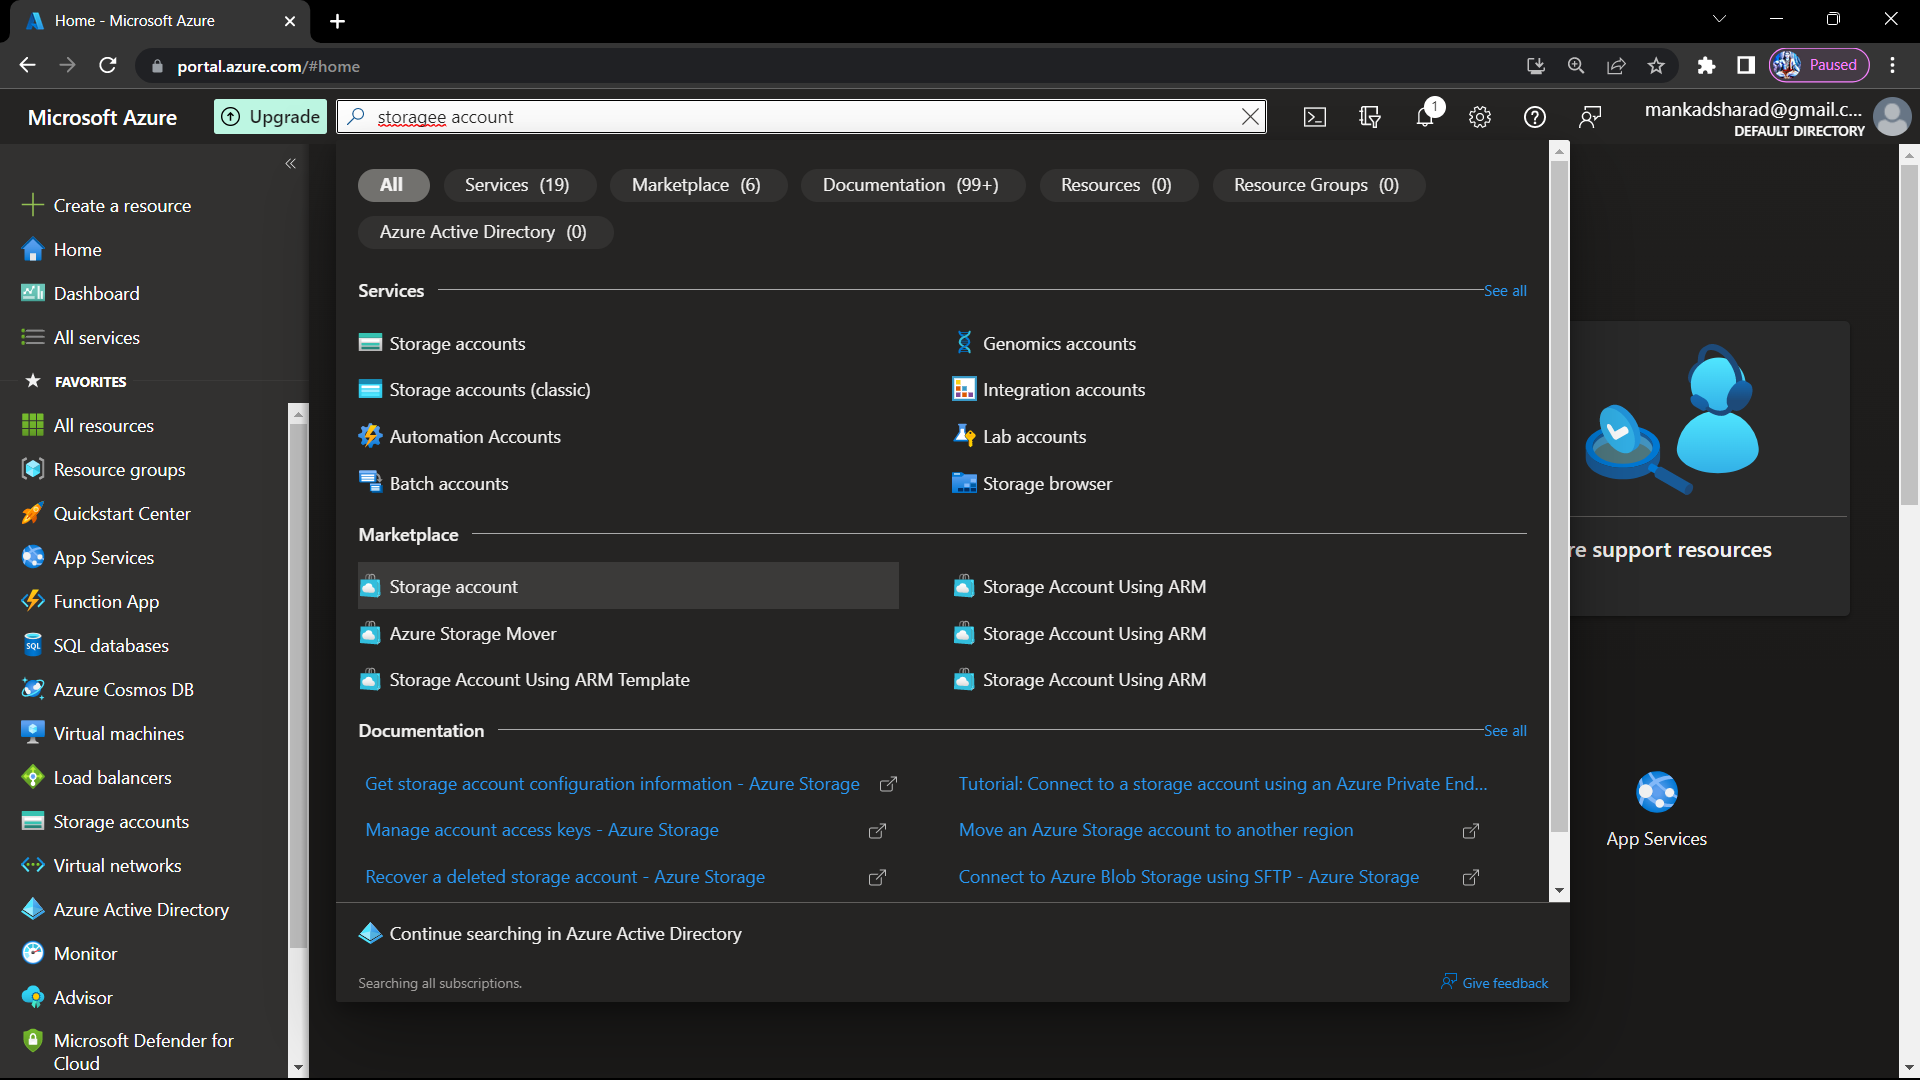
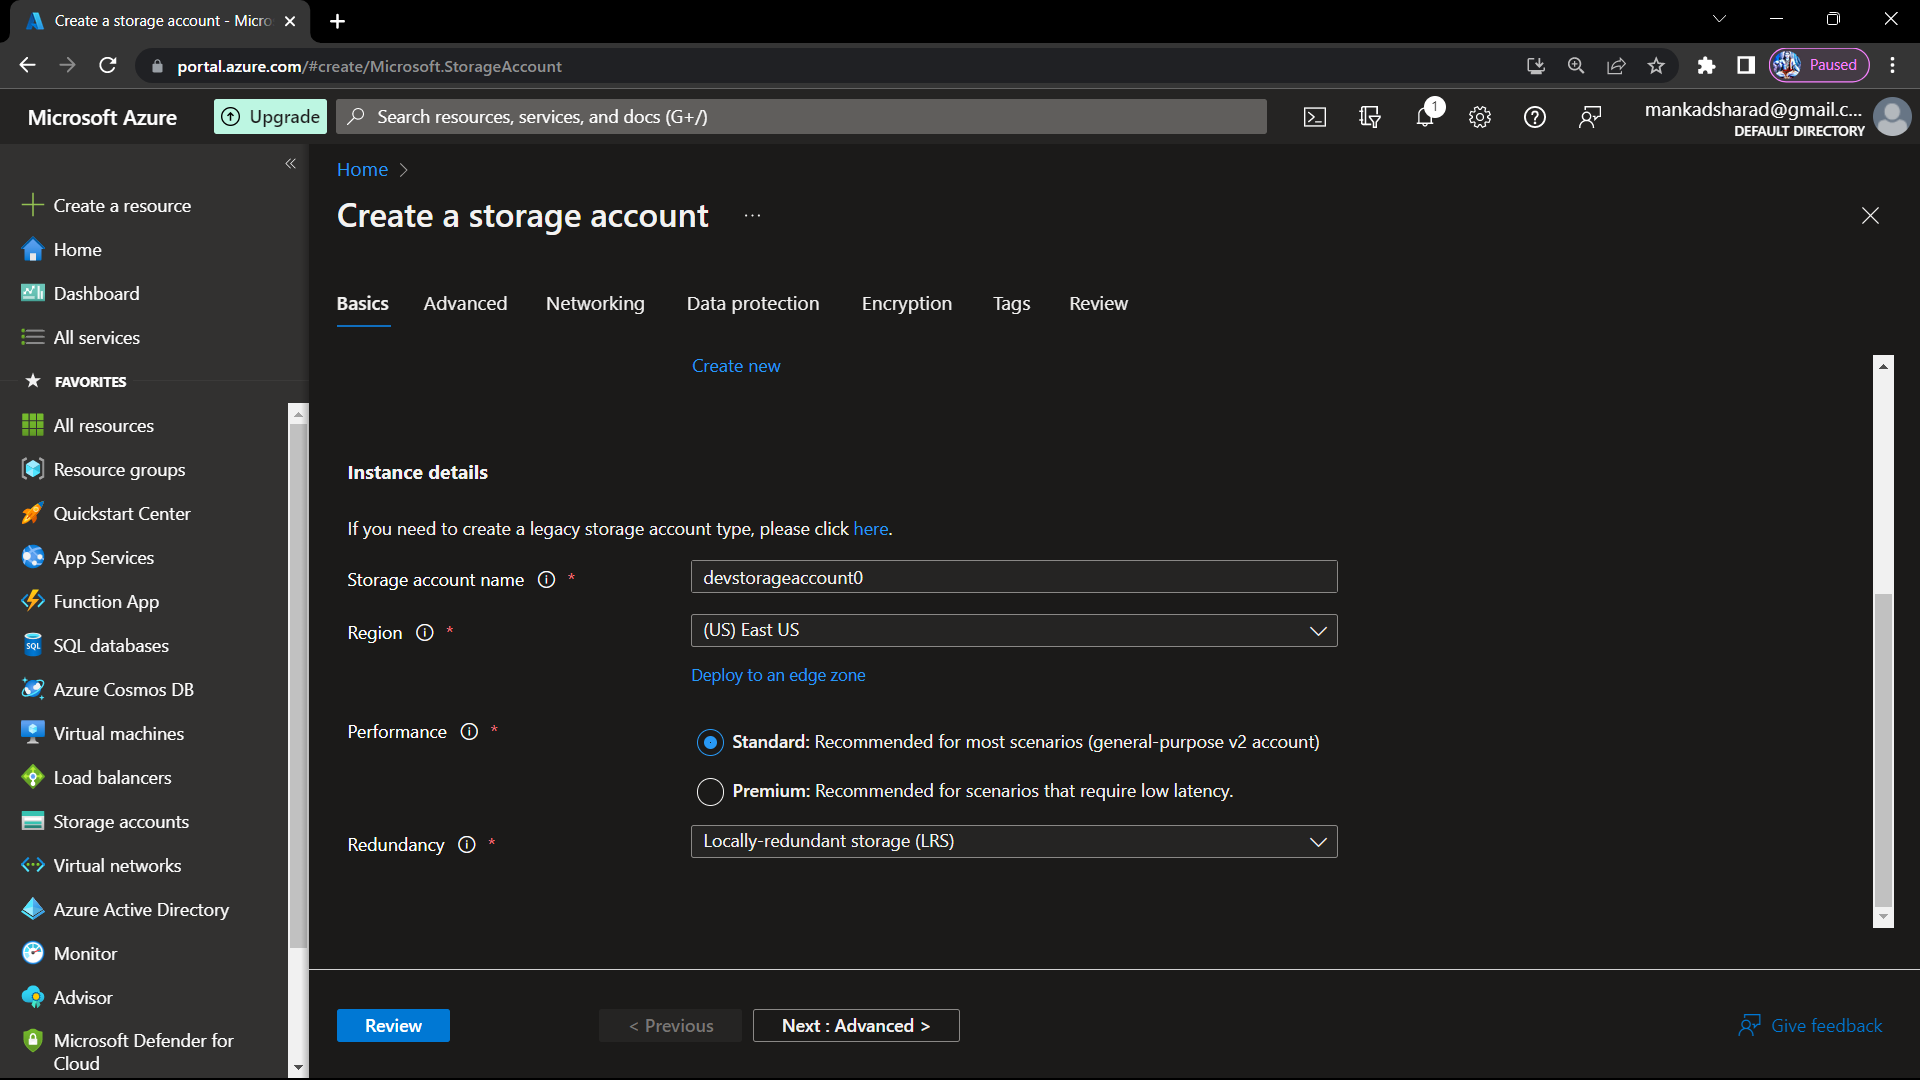
Step-3 : Click on Storage Accounts. Now create a storage account by filling all the details.
select the region which I selected US East here. and also select performance which i selected standard for general purpose.
Step-4 : Click on next and configure all the settings by your choice. I selected all the default settings here.
Step-5 : After configuring all the details click on create and review option and by clicking on that you will see a screen like this image :

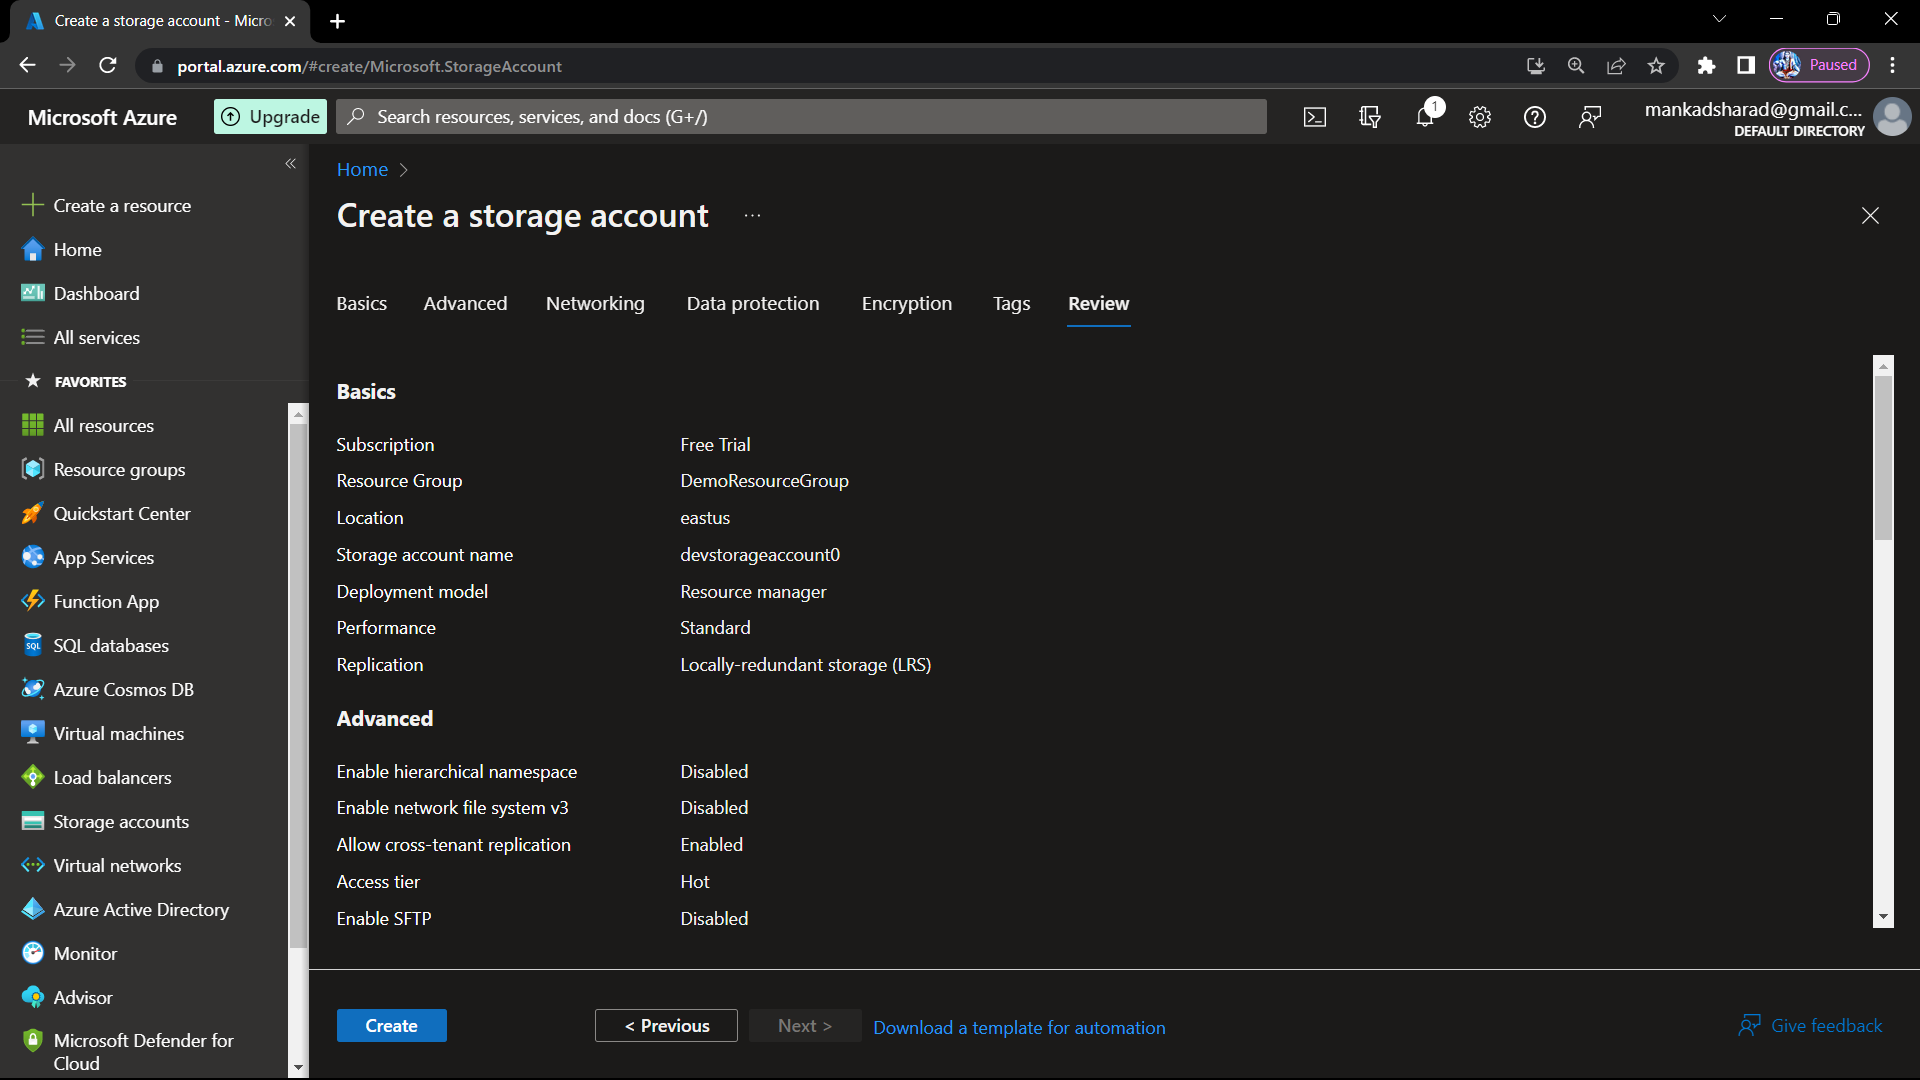
Now, click on create option to finally create your azure storage account.
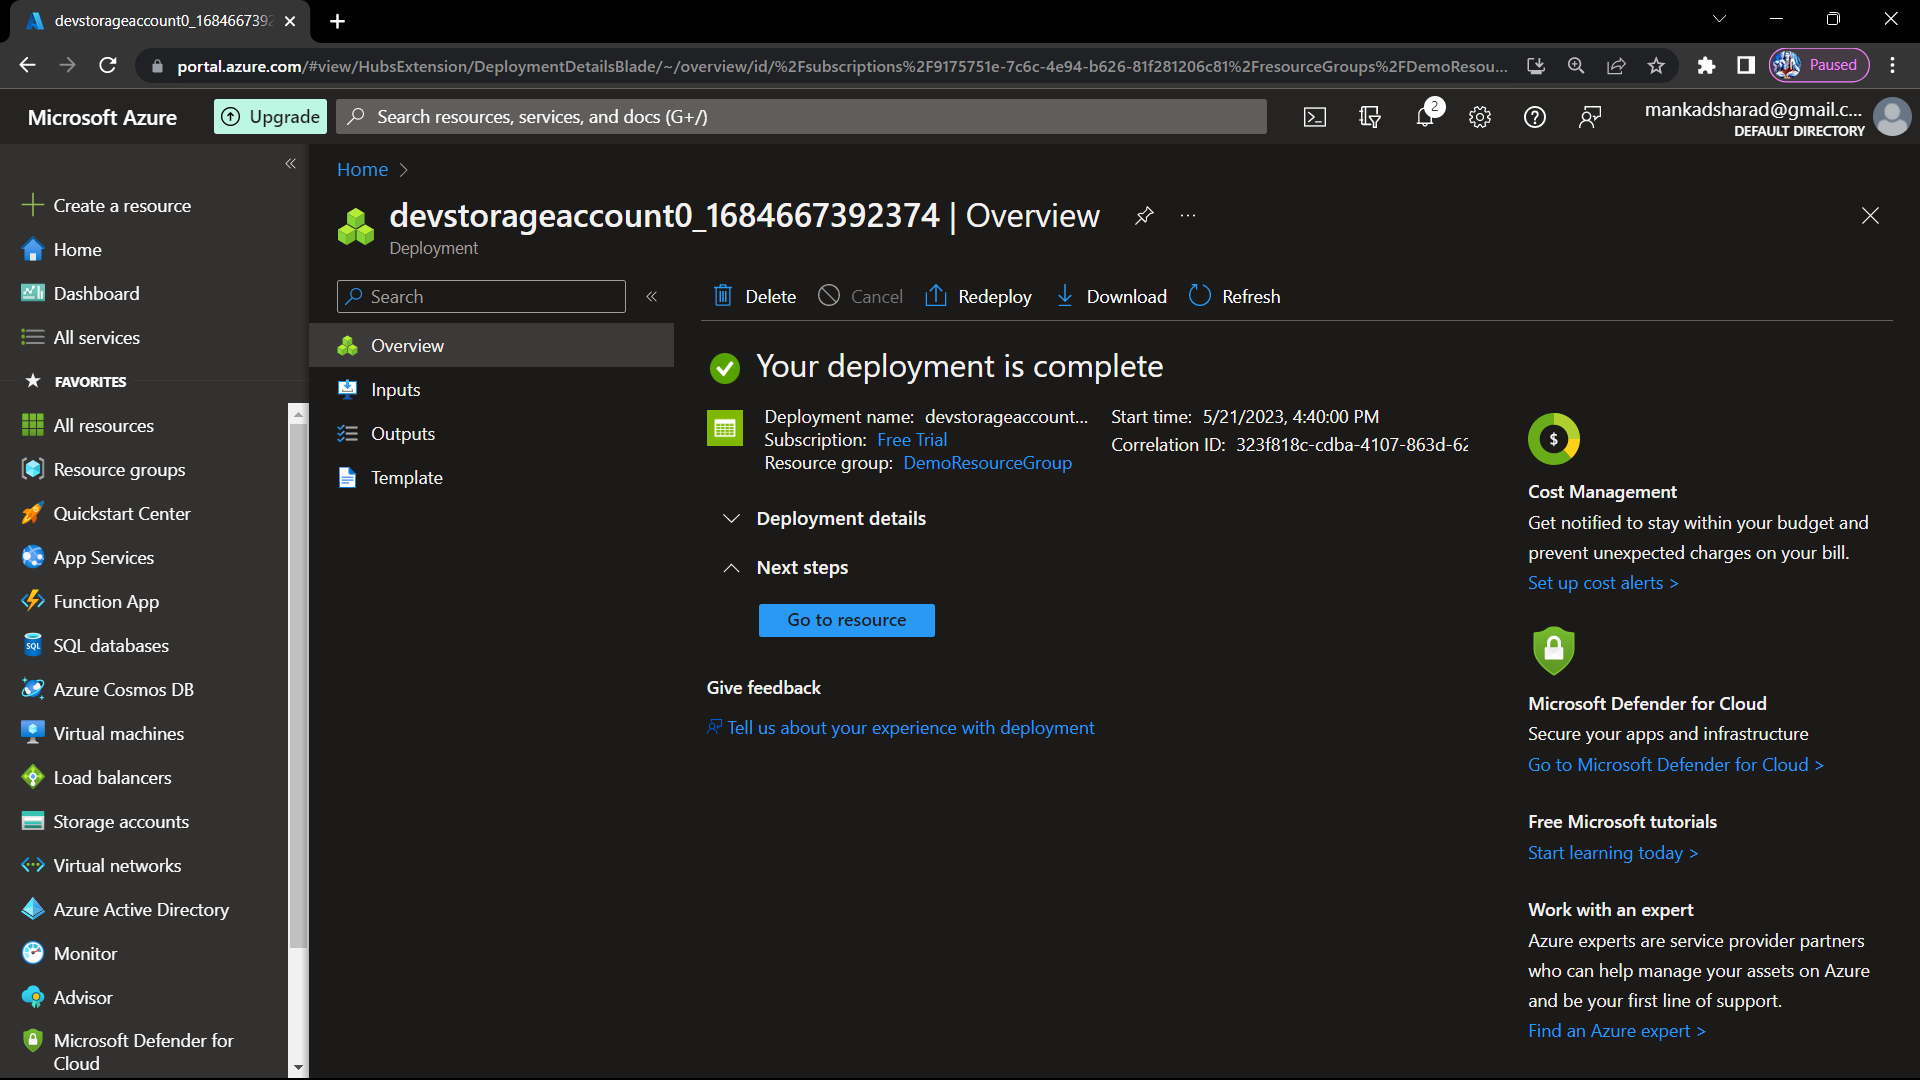
Step-6 : After the deployment process is completed click on go to resource option.
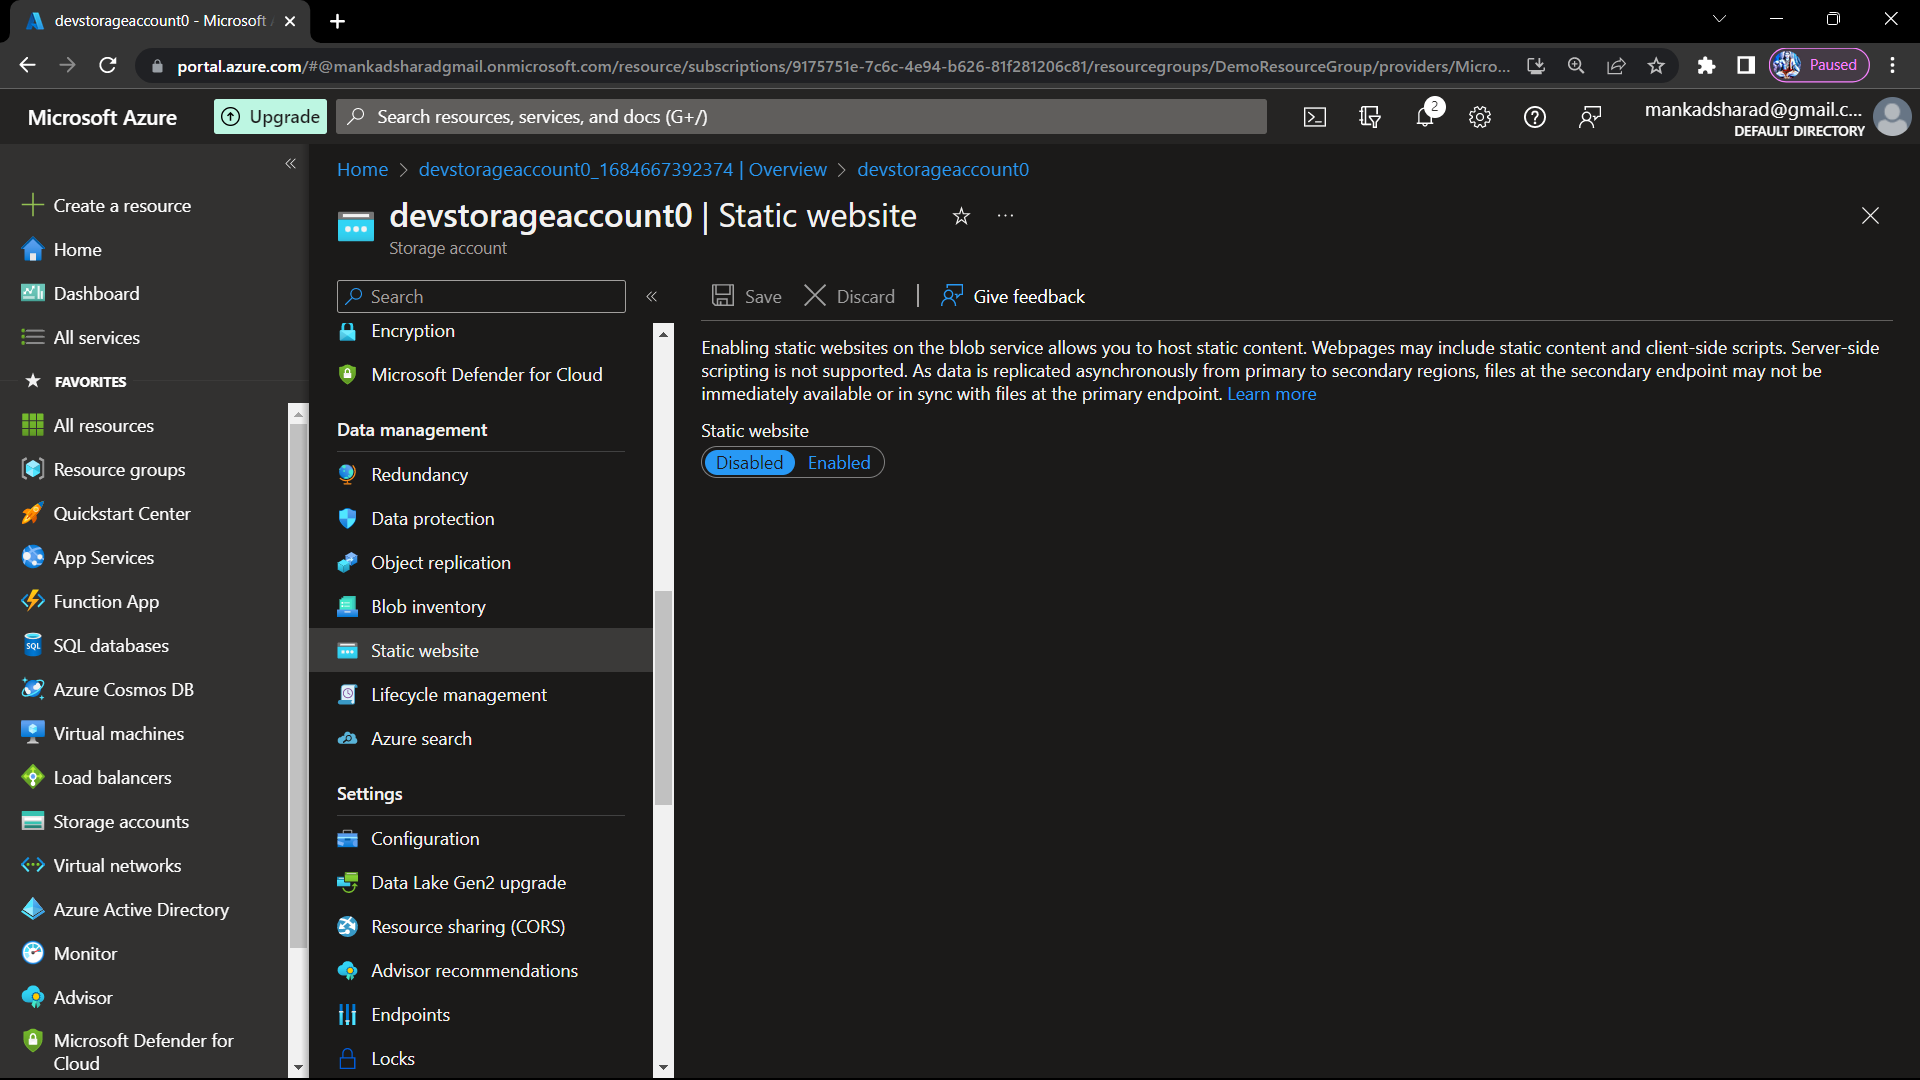
Step-7 : Now go to static website option and static website option is by default disabled. We have to enable it for allowing to host static content. so click on enabled option.
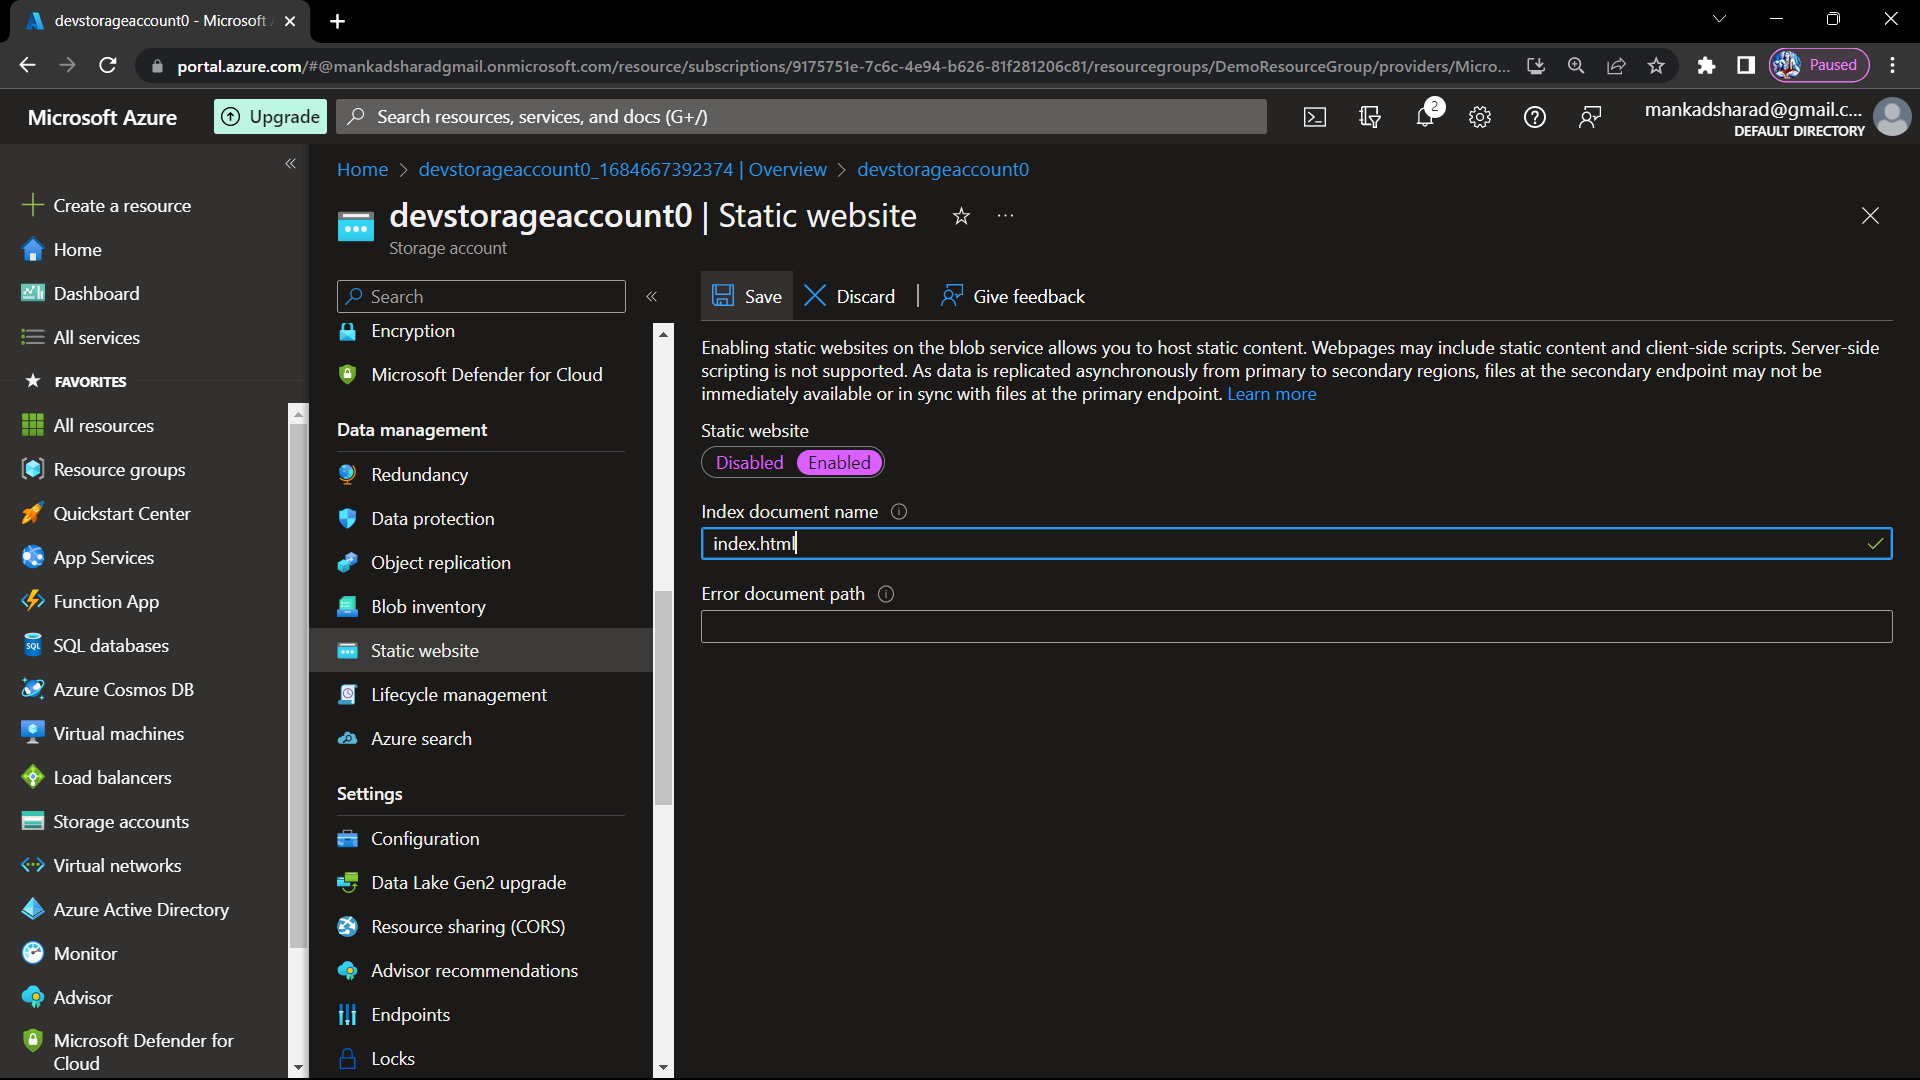
After clicking on enabled option write index document name on textbox.
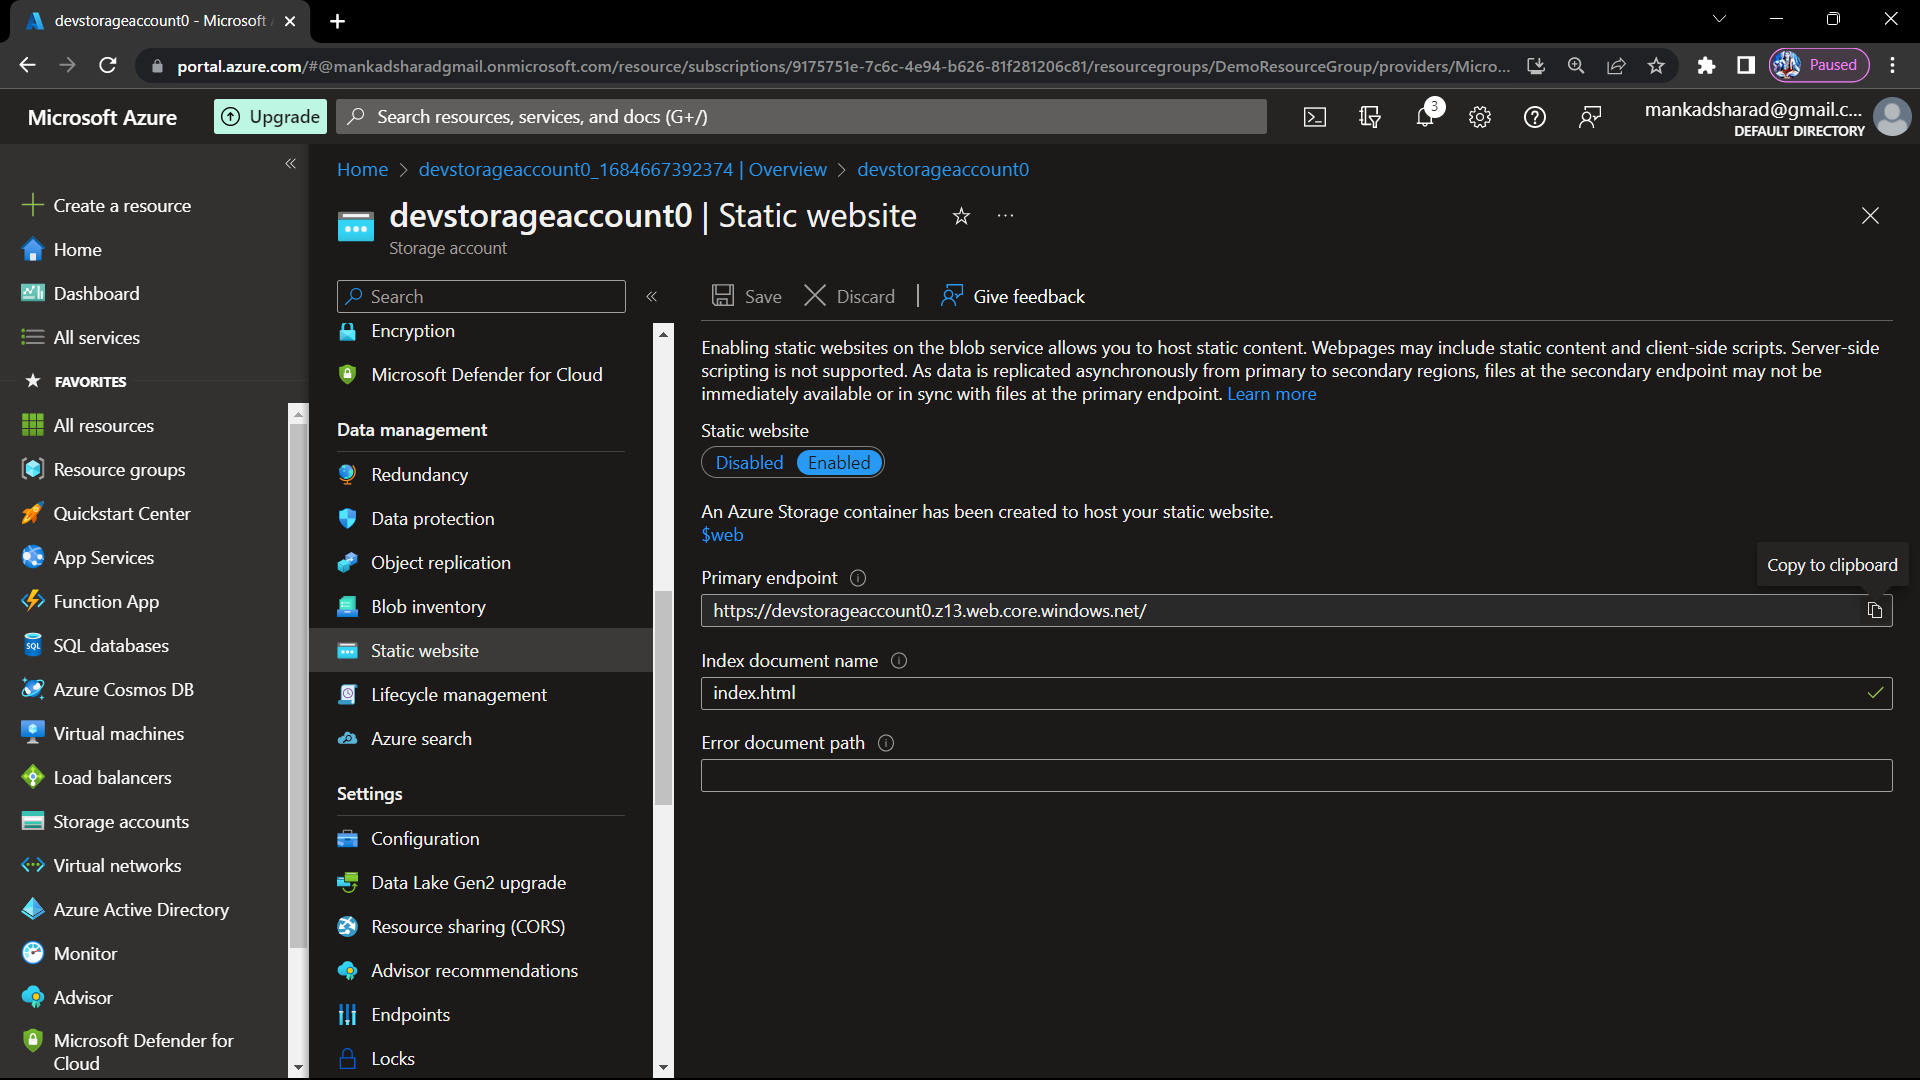
Step-8 : Now save it and after that Primary endpoint link is shown so copy that link.
Step-9 : Go to overview option and in that there is blob storage where you can enter your website files. So, upload all the files of your website.
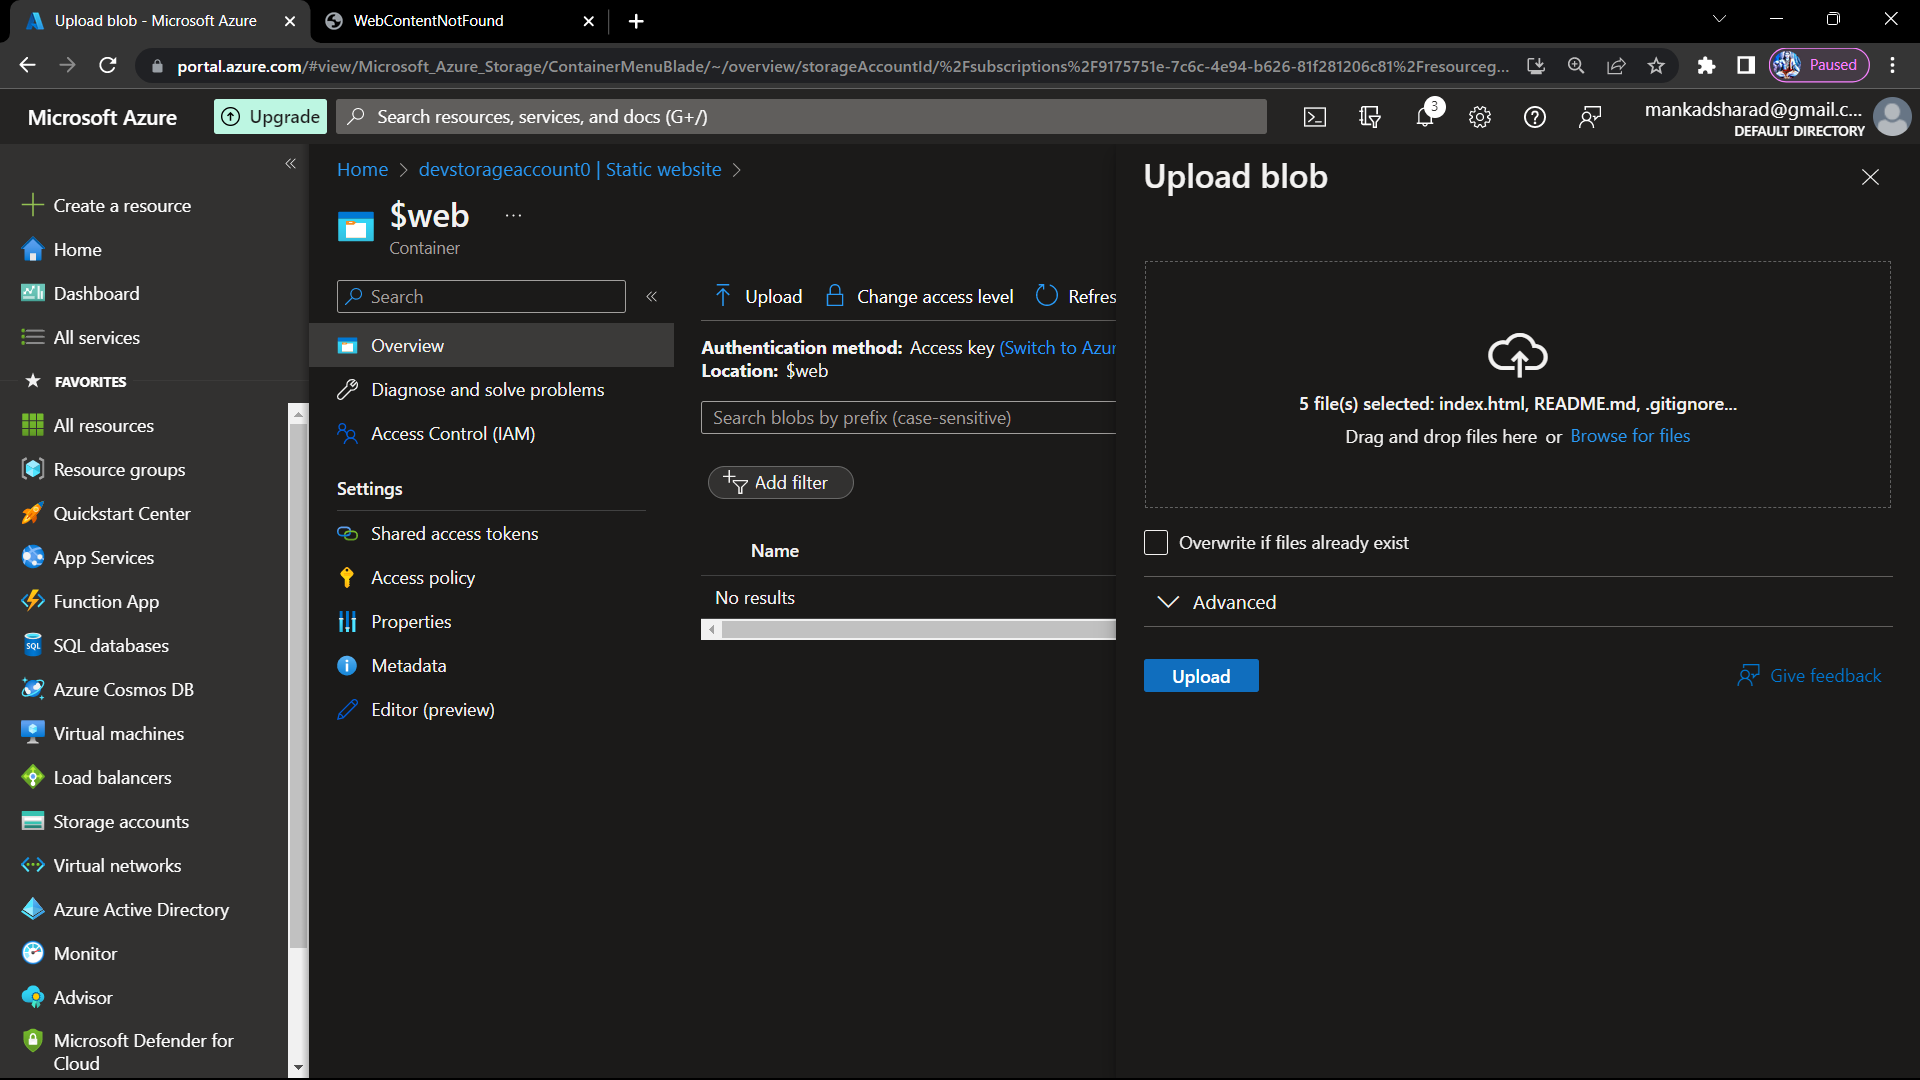
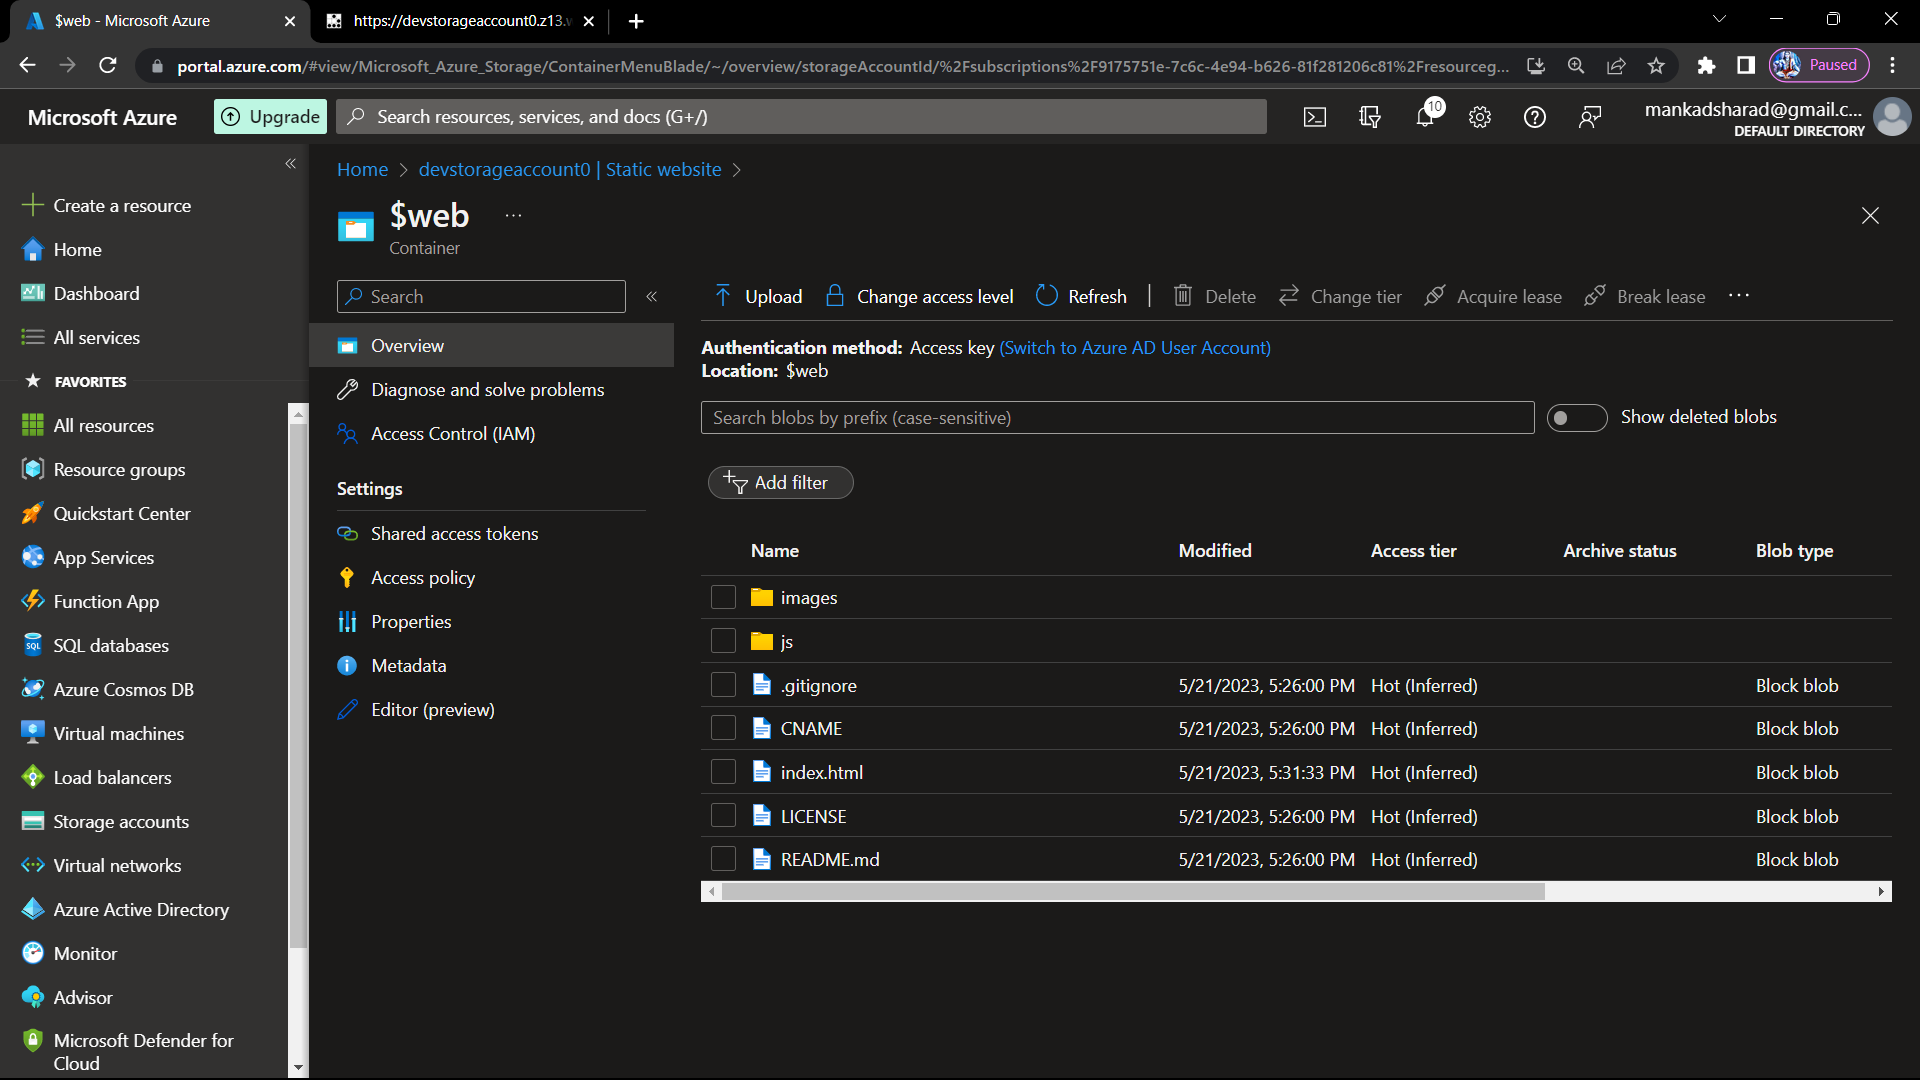
Here i added all the necessary files of my website.
Step-10 : Now open the new tab and paste the copied link and check your website is running on that link or not.
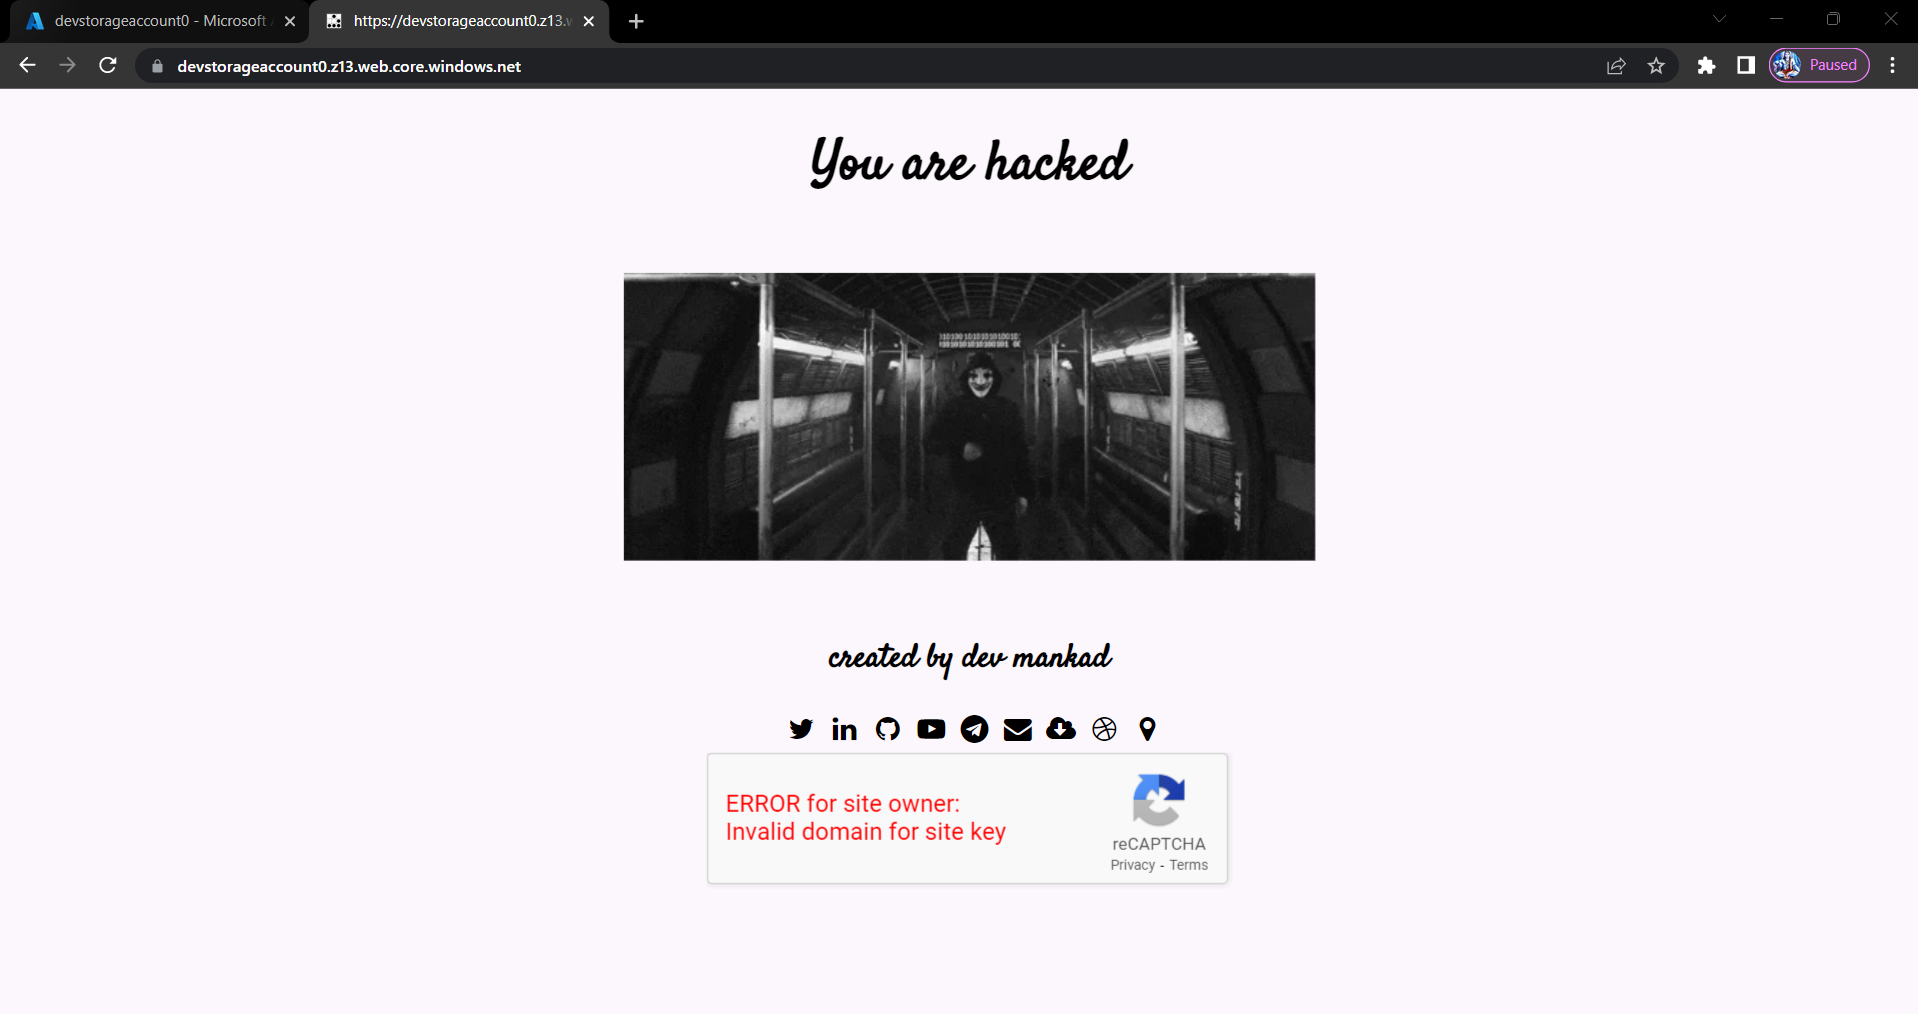
Yes, it is. So our website hosting is done.
Now if you want to give custom domain to your website then use Azure CDN for it.
So, here are some steps by following that you can get the idea of how Azure CDN works.
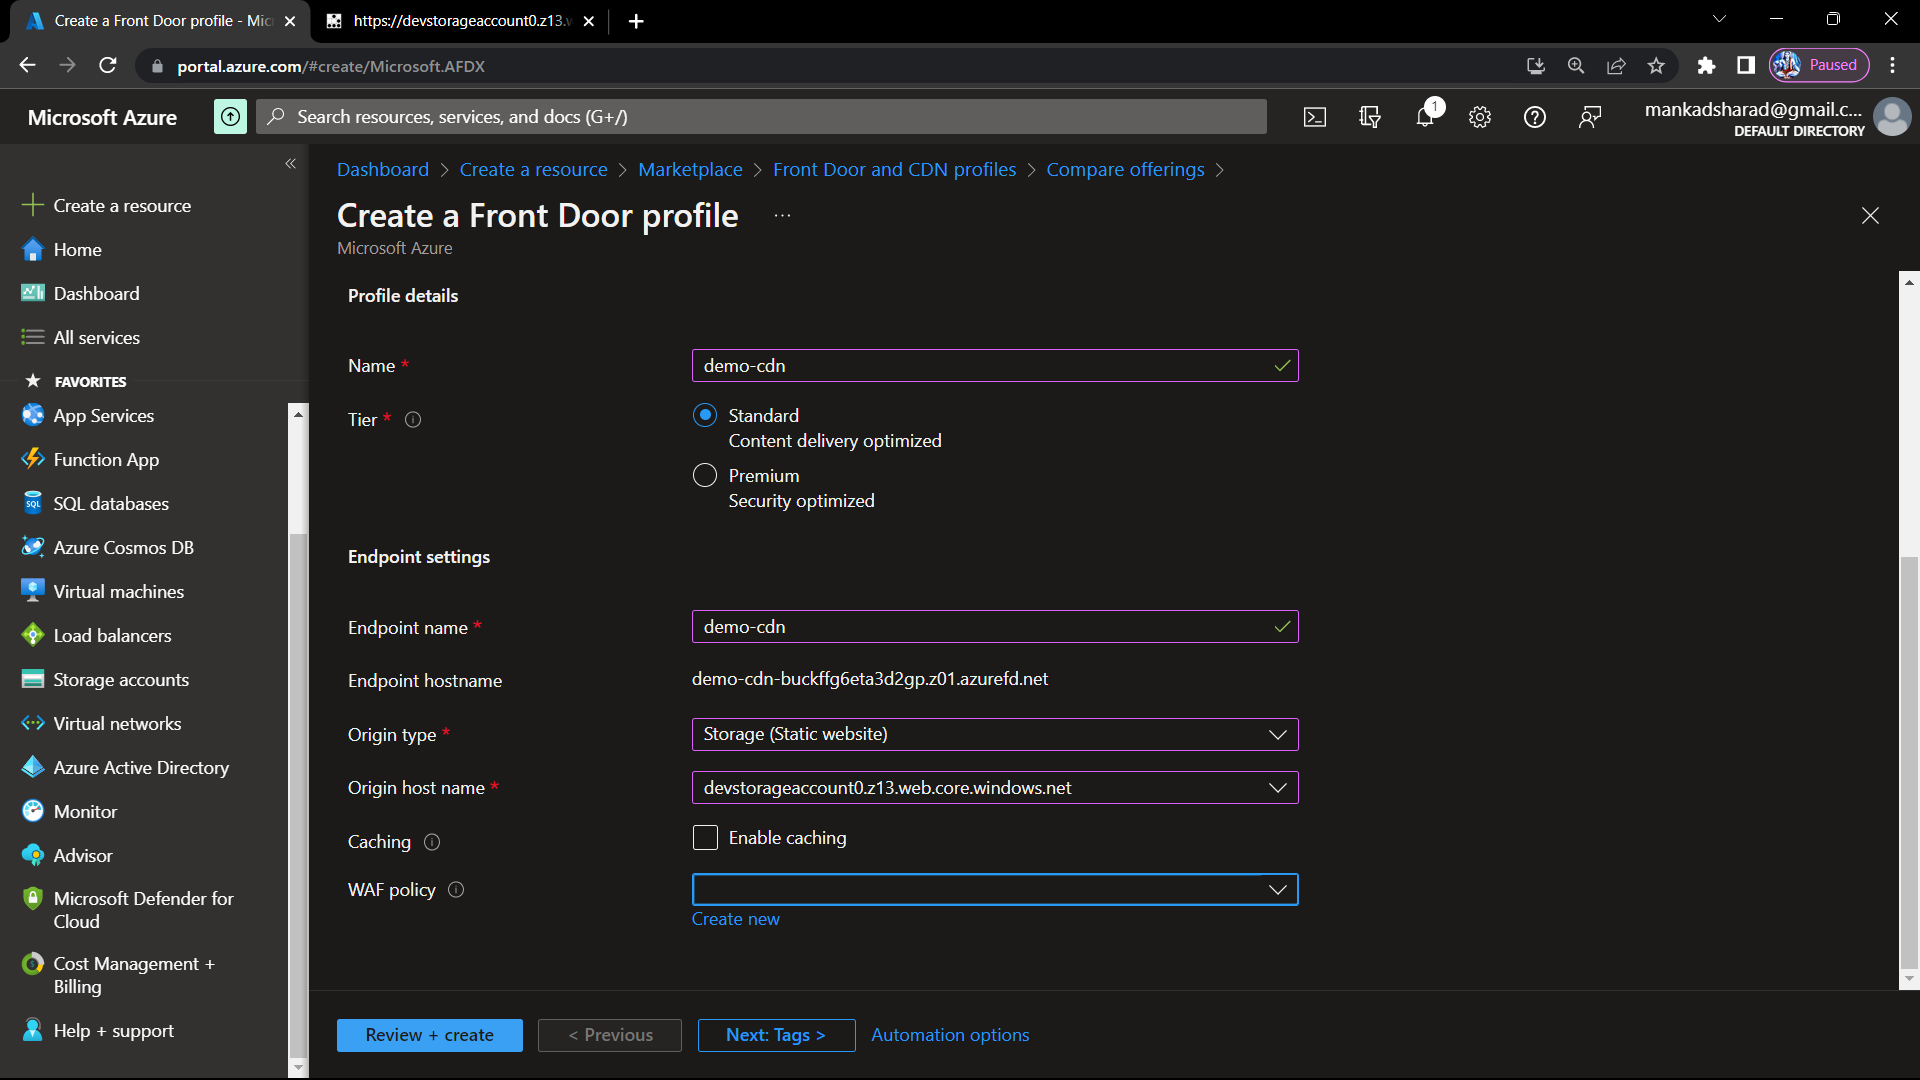
Step-1 : Go to Azure CDN and create a front door profile.
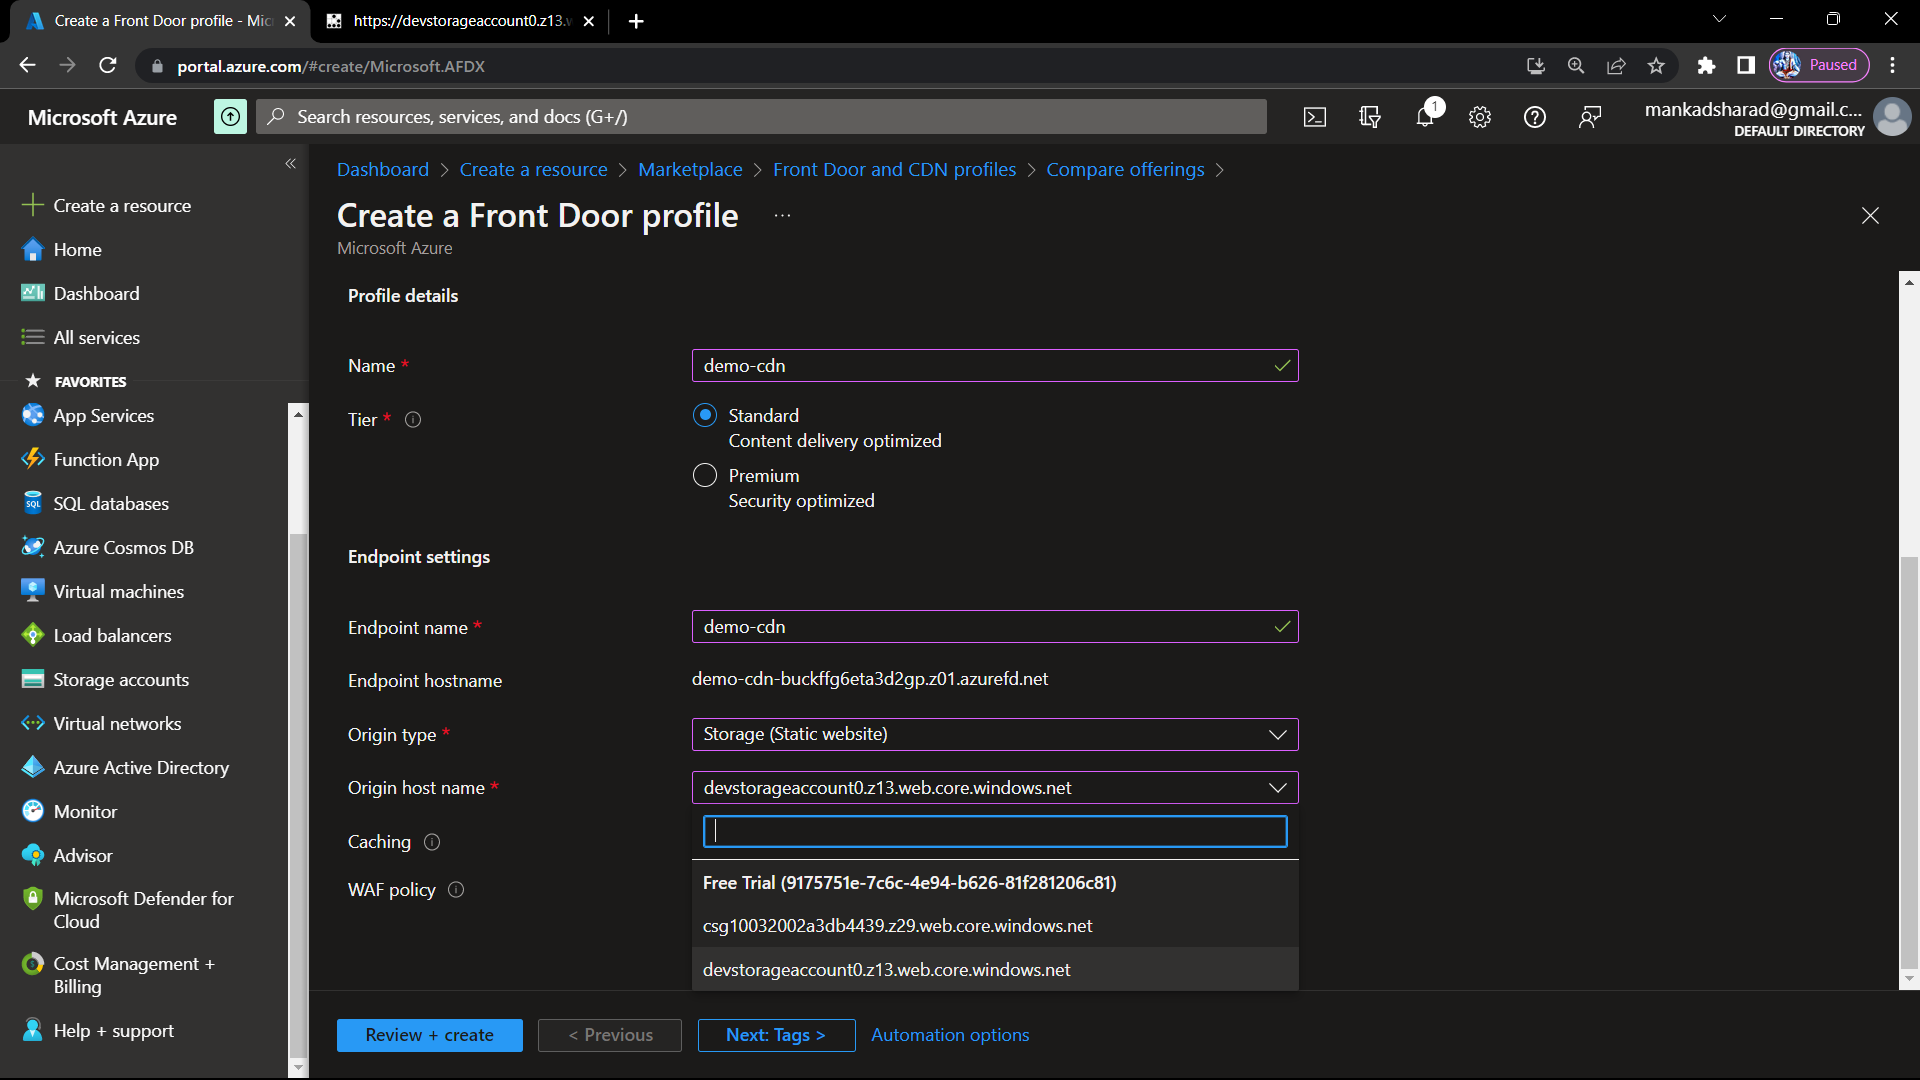
Select Origin host name (Static hosting link of storage account).
Step-2 : Now click on Review + create option.
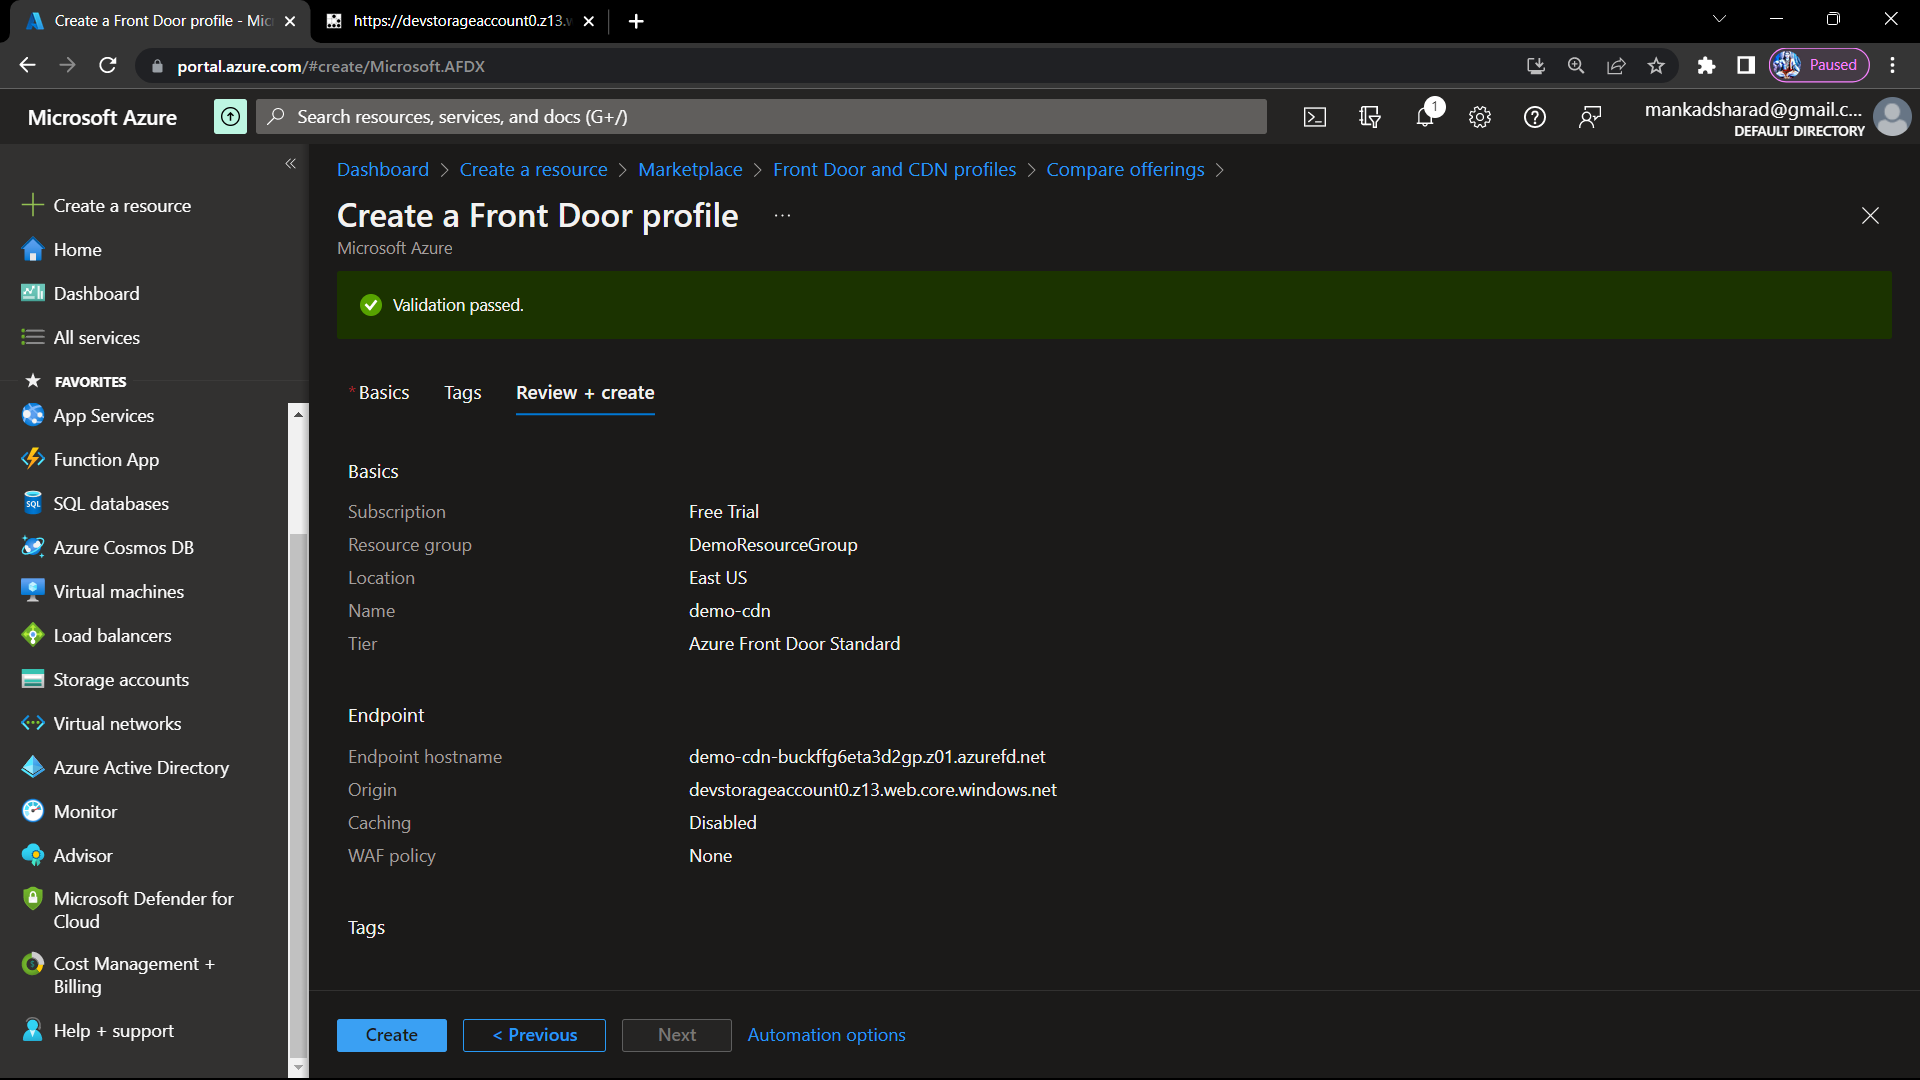
After validation is passed click on create.
Step-3 : After clicking on it deplyment is started and when it is complete click on go to resource.
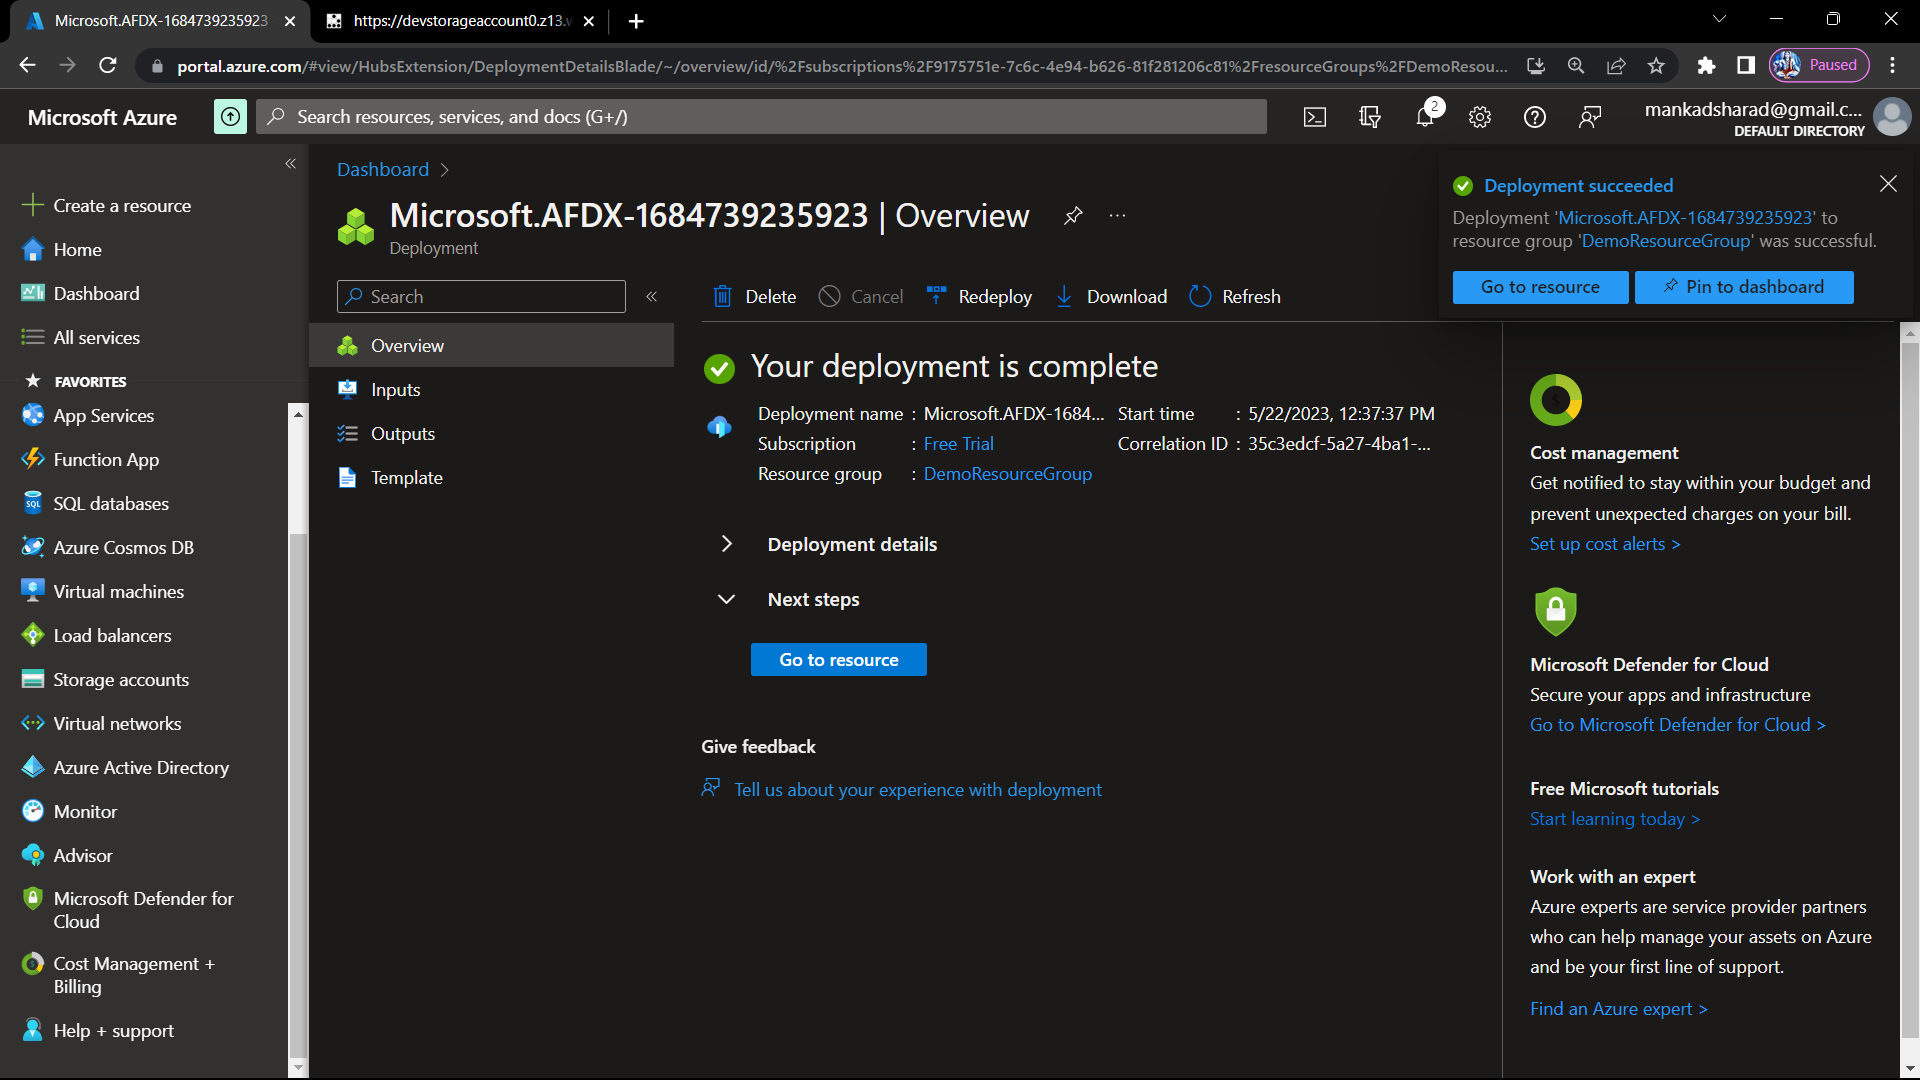
Clicking on go to resource will redirect you to a overview of cdn page.
Step-4 : In overview there is Endpoint hostname 9in properties) which we gave in the configuration so copy that link.
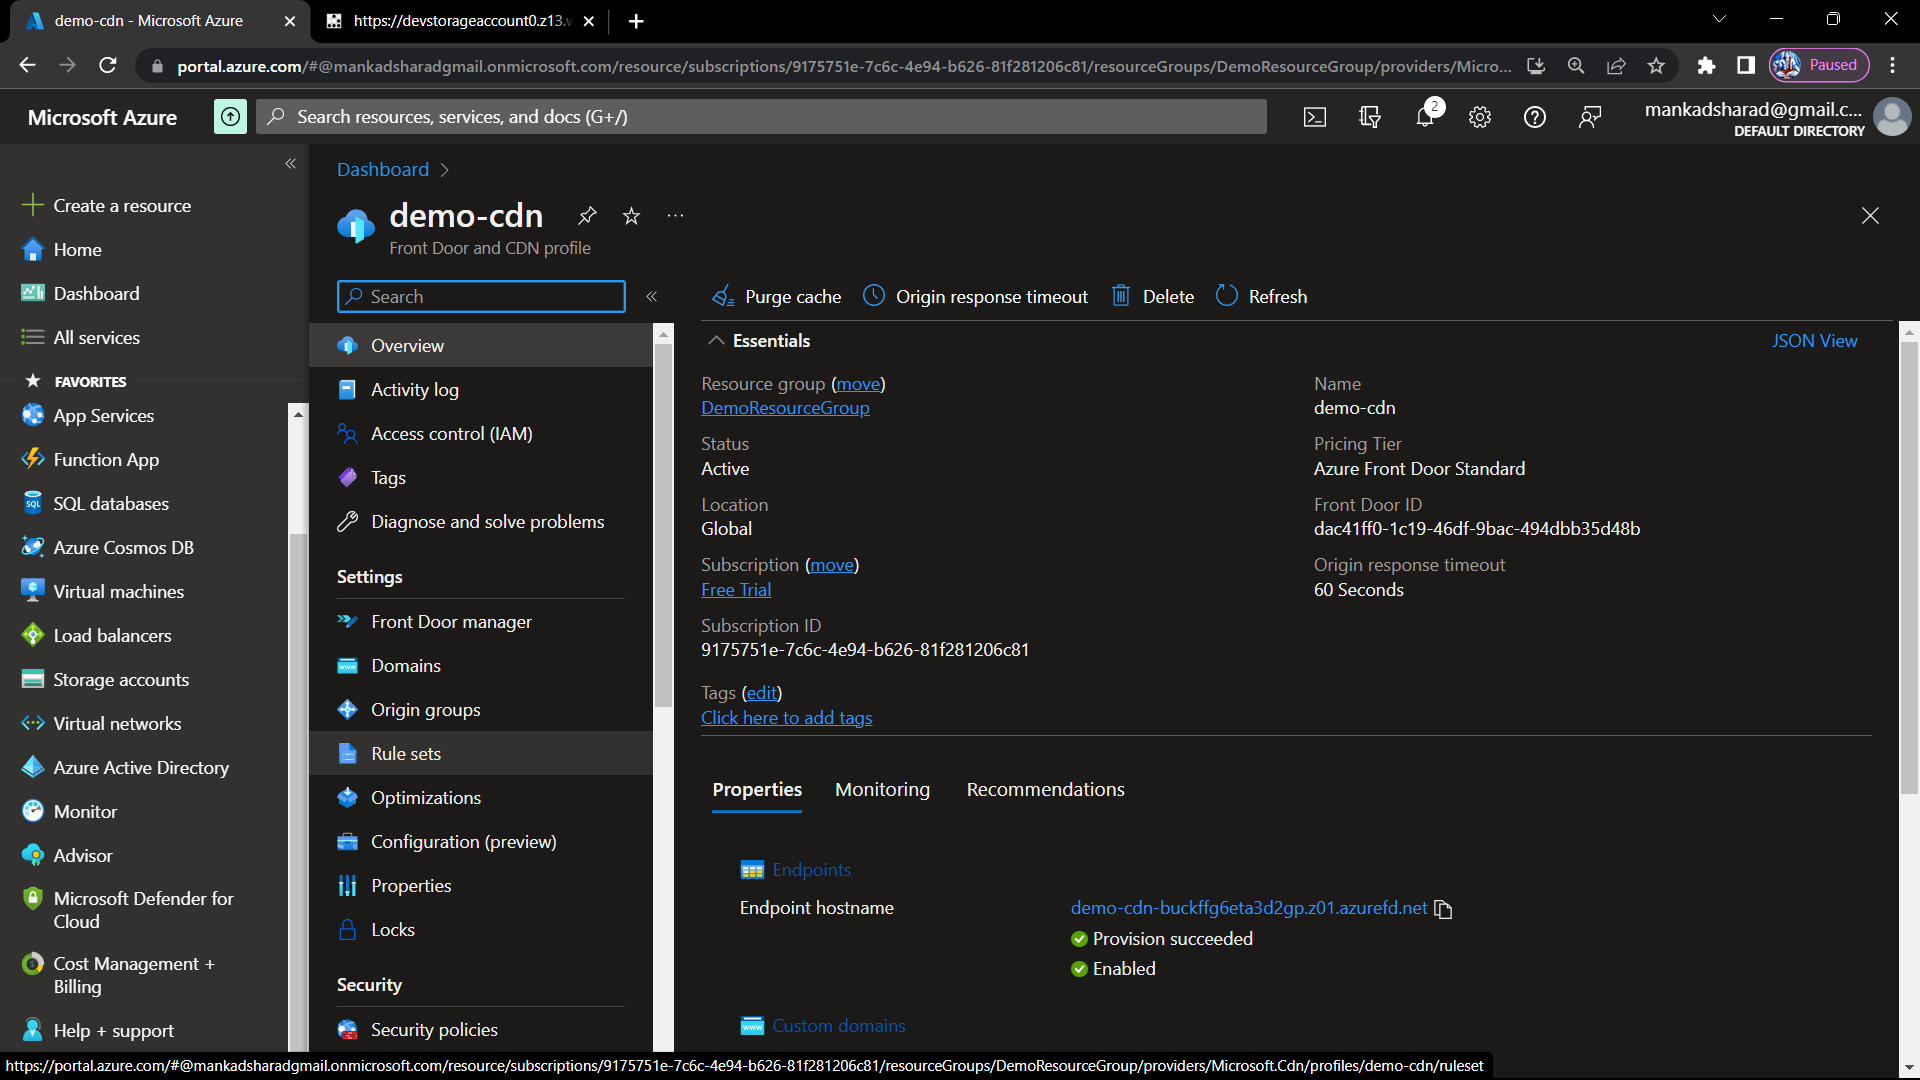
Now if you paste that link in new tab it will not show you your website because we didn't configure or set the rules yet. So, to run our website by using endpoint hostname we have to set Rule sets first.
Step-5 : Go to Rule sets option. Add condition and action accordingly.

Now give a name to rule and sav that Rule sets.
Step-6 : Open a new tab and paste the Endpoint hostname link.
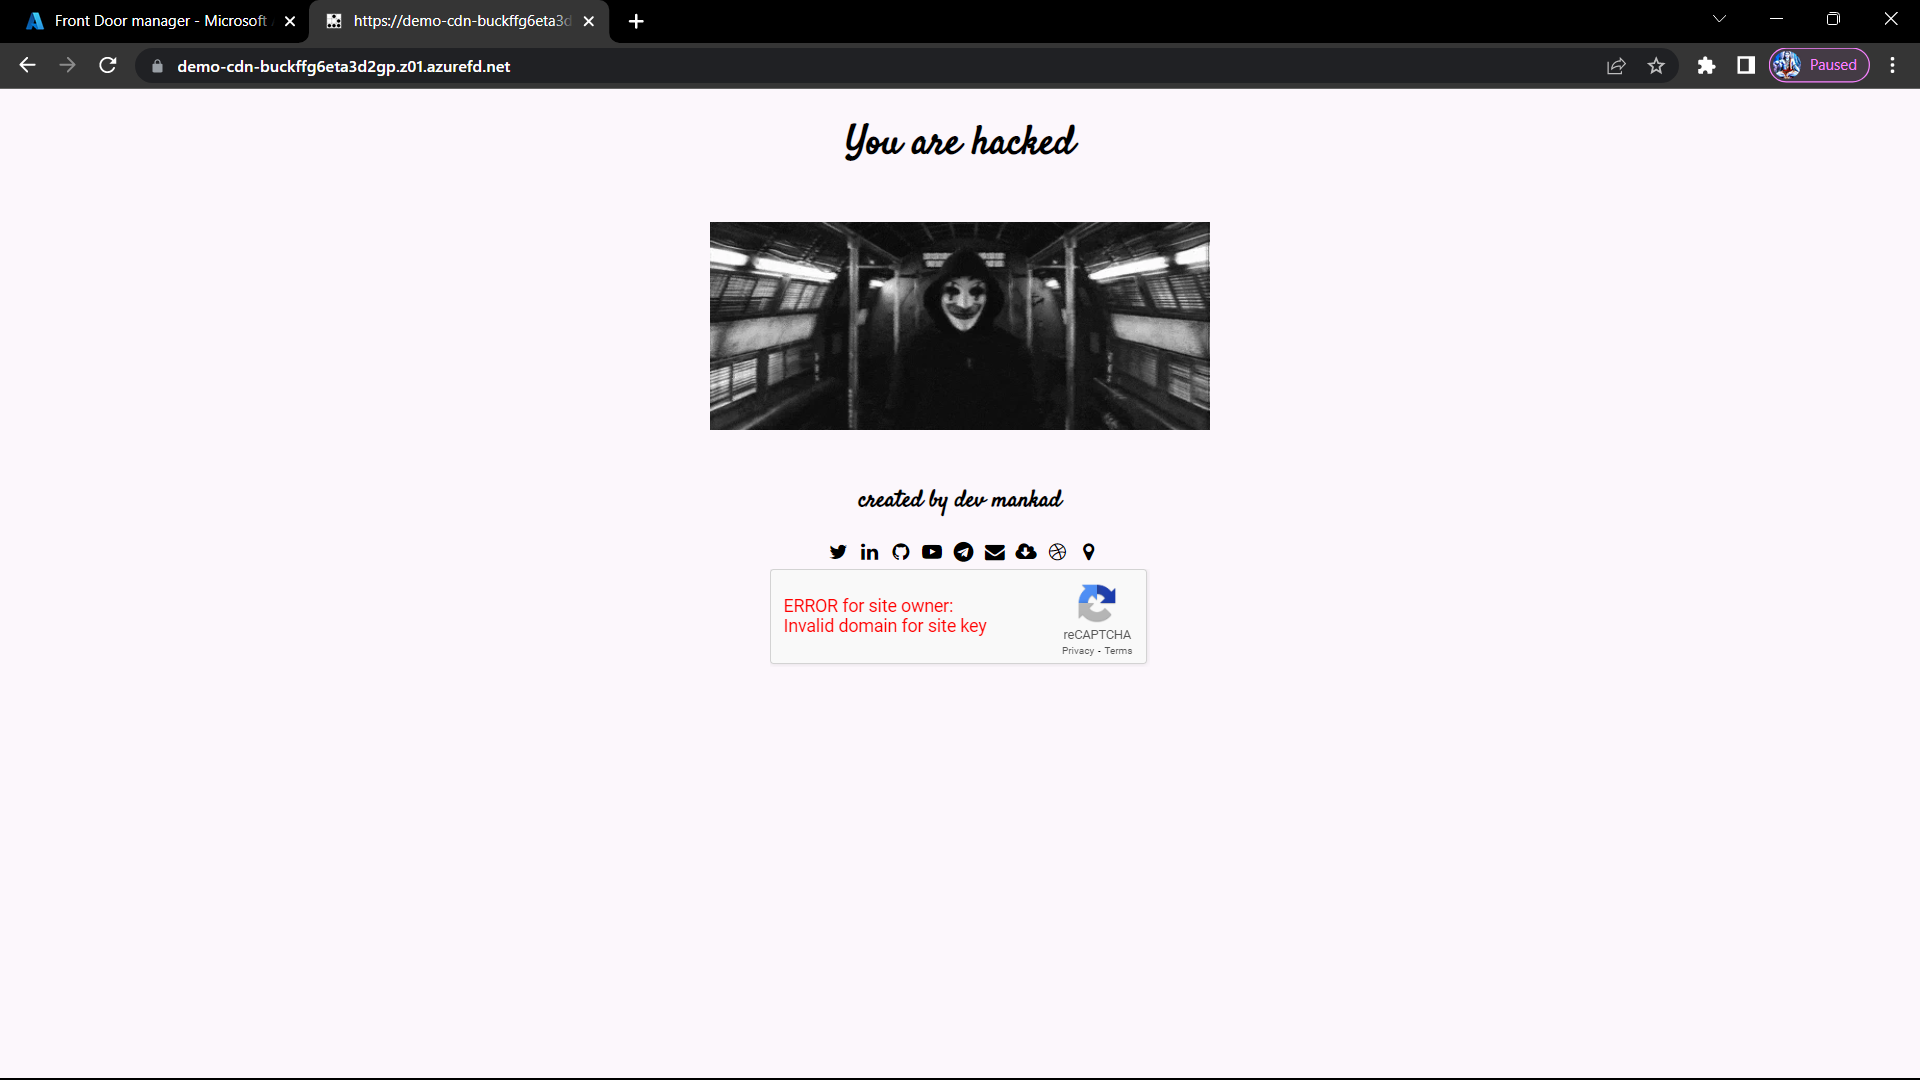
There we have it. Now if you navigate to http://<your domain> you should be redirected automatically to the https version of your website.
Summary
In this blog, we explore the step-by-step process of hosting a static website on Azure using Storage Accounts and CDN. From creating a storage account to enabling static website hosting and configuring CDN, you'll learn how to effortlessly deploy and enhance your website. Unleash the power of Azure for secure, fast, and scalable website hosting.
Hurray🎉 you have successfully hosted your first website in Azure. Start creating a new website and start hosting it in Azure; its best, secure, and fast. You can host your resume, blog, or anything you want in Azure.
Have questions or need further guidance on hosting your website on Azure? Feel free to reach out to me at Linkedin : Dev Mankad . I'm here to help you navigate the world of Azure and ensure your web presence shines!


